In the Create Pages article, I mentioned that WordPress posts have an official publication date and are displayed by date on your site’s blog page. Posts are mostly used for articles.
For example, if you running a gym website, it won’t be really smart to create an article such as ‘How to Do Back Squats’ as a page.
If you’ll create your website’s articles as pages, they will get lost among all the other pages on your website and won’t be really accessible.
On the other hand, if you’ll create the articles as blog posts, your website’ visitors will be able to read them all from inside the Blog page when the newest article is at the top and the oldest at the bottom.
Creating blog posts
To create blog posts in WordPress, navigate to the Posts page.
On the posts page, you’ll see all the posts that you currently have on your website.
Even if you didn’t create any posts yet, you will see the default ‘Hello World’ post that was automatically generated for you when you installed WordPress. Feel free to delete it.
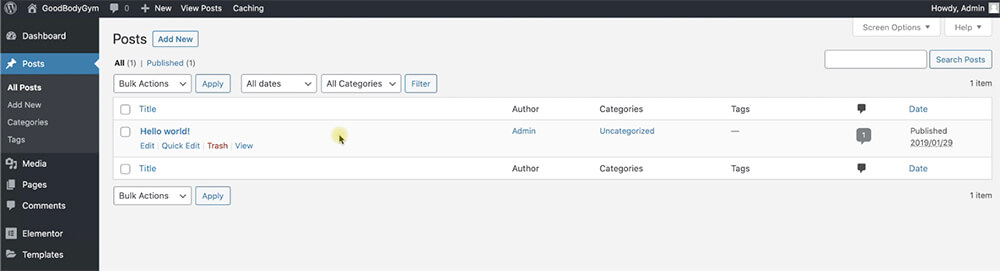
Now, click on the Add New button at the top to add a new post.
The edit post screen is identical to the edit page screen and shares the same components.
The bar at the top of the page above the content will let you add content blocks and the sidebar on the right to change the settings of the post.
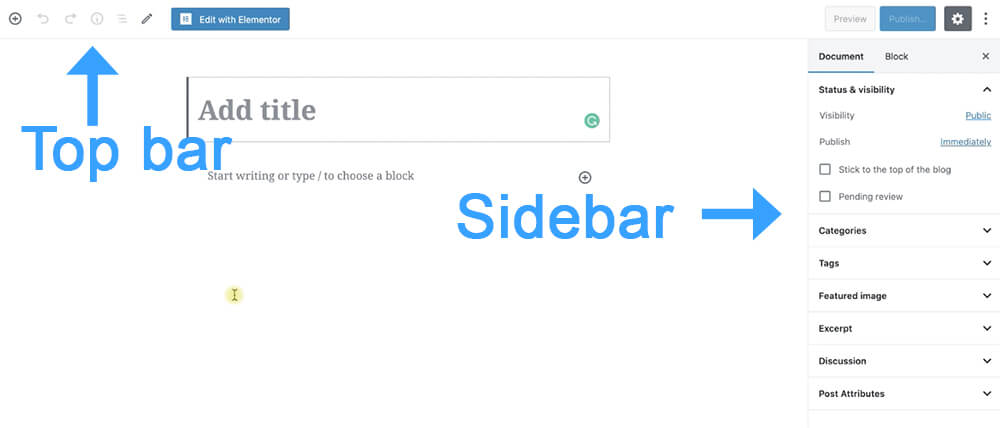
The right sidebar of the post contains extra options that we didn’t have in page edit screen:
- Categories – A way to group different articles under one subject. For example, the articles ‘how to back squat’ and ‘how to front squat’ can be grouped under the Squat category.
- Tags – while categories help us to generalize the article topic, tags are smaller in scope and can be used to describe pieces of the article. For example, when creating an article ‘how to run your first marathon’ the article category can be Running while the tags can be ‘marathon’ or ‘Nike shoes’ (if you have a section in the article that talking about shoes).
- Featured Image – This is the image that represents the blog post. This image will be displayed in the Blog archive page and on social channels when visitors will share your post.
- Excerpt – this is the excerpt of the post that will be displayed in the Blog archive page. If you didn’t write any excerpt, the first 50 words of the post will be used in the Blog archive page.
I would like you to write a post title, what the post is about, and fill the four options above.
After you did so and just before publishing your new post, let’s add some content to it using the default WordPress blocks.
WordPress Gutenberg blocks
The Gutenberg blocks are the default WordPress way to add content to your pages and posts.
It is a very similar way to Elementor in the idea. You have many blocks or widgets to chose from and generate the content of your page or post.
Although we can design each of the blog posts with Elementor we shouldn’t do it that way because we would like our posts to be consistent and similar to each other.
What we should do is to create the blog post frame with Elementor templates and enter the content of every post with the default WordPress Gutenberg blocks.
Before creating the post template, let’s play around by adding some blocks.
Click on the Plus icon and there you’ll see all the available blocks for you to use.
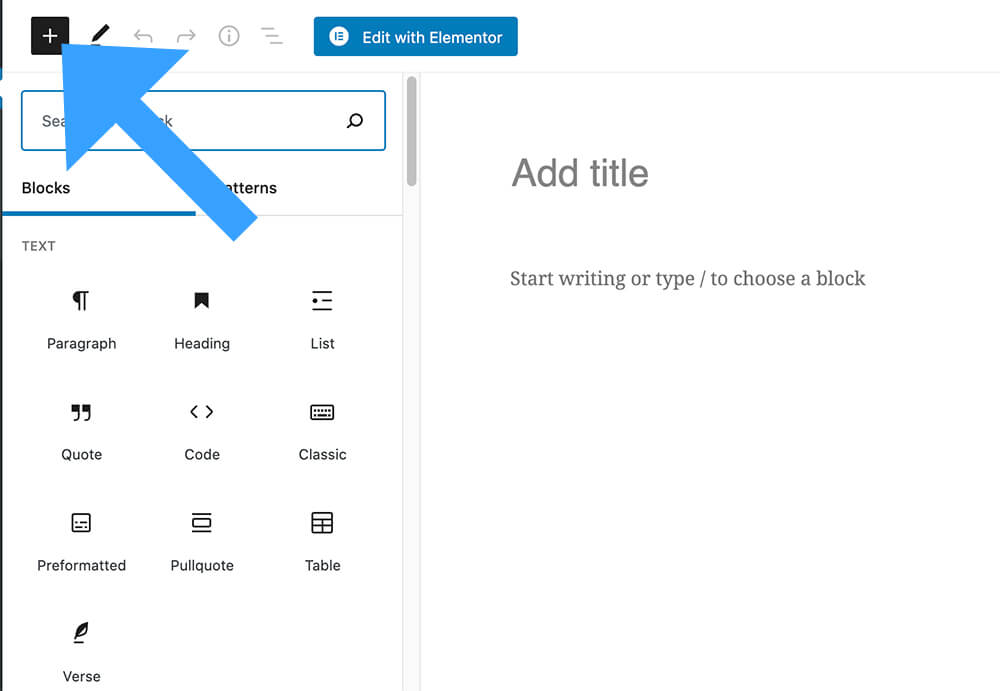
They have many options that are very similar to Elementor such as Video, Image, Columns and etc.
It’s important to get familiar with the different blocks because you’ll use them pretty often if you are planning on maintaining a blog on your website.
Add as many blocks as you want and enter your text and the rest of the content such as images and click on Publish.
After publishing your first post, visit your post and see what you came up with.
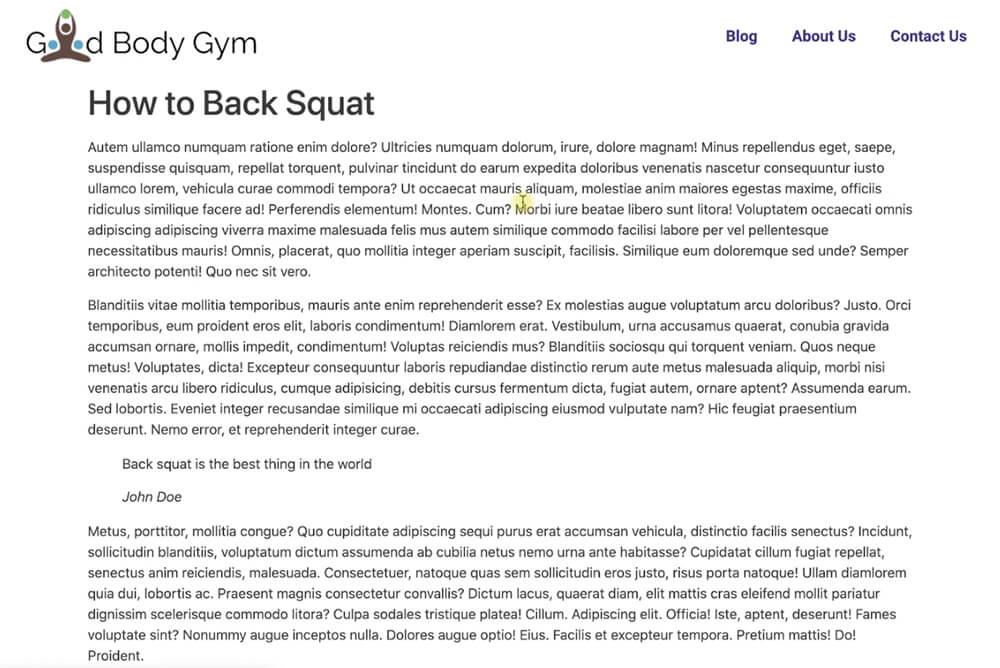
You probably see a very simple and basic blog post design. You did a good job, now we can move forward and create the post template that will be triggered for every blog post.
Creating a blog post template
Just like we already did a few times in this article, we will create the blog posts template with Elementor.
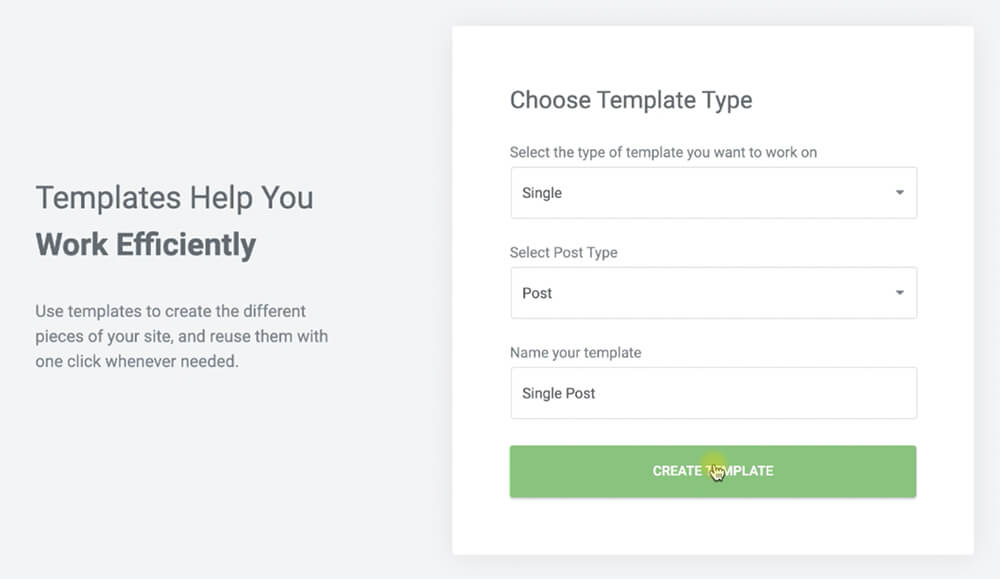
Navigate to Templates -> Add New and choose Single from the first drop-down menu and Post at the second one.
In the next screen, just chose the pre-made template that you like the most.
Because we are creating a template for a single blog post, all the templates that we will see will be for blog posts.
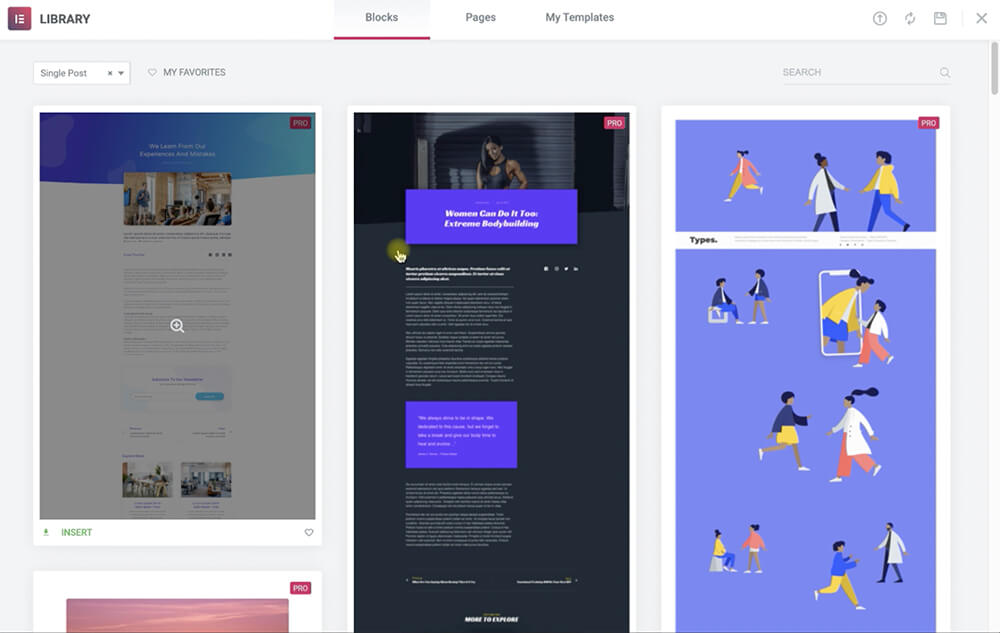
There are many options to chose from, some will be full width and some won’t. Some will have a sidebar and some will come without. There is no right or wrong design, just personal preferences.
Feel free to check how similar businesses from your niche are styling their posts and get some ideas from them.
After inserting your favorite template, you will be able to change and customize any part of it including adding or removing widgets from and to it.
When creating a post template, new widgets related to the post will be available for you to use.
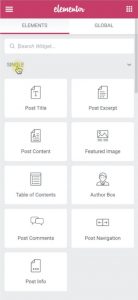
Note: the post related widgets will automatically generate and change their content based on the specific blog post content. For example, the Post Title widget will display the specific post title of the post you’re visiting.
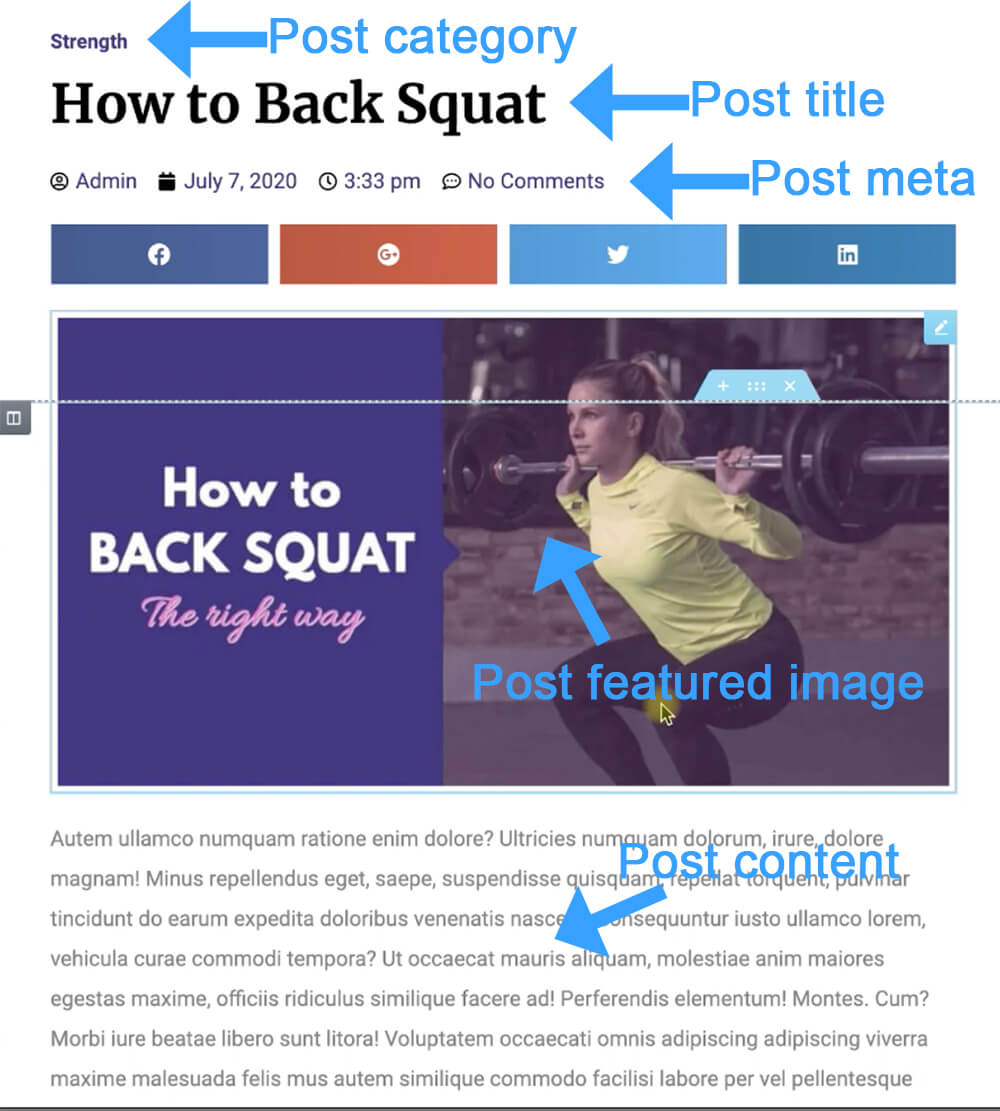
When creating a post template, make sure you displaying all the important features of the post such as:
- Post title
- Categories
- Tags
- Featured image
- Post content
- Share buttons
- Comments box.
If there are any other features that you like, make sure to add them.
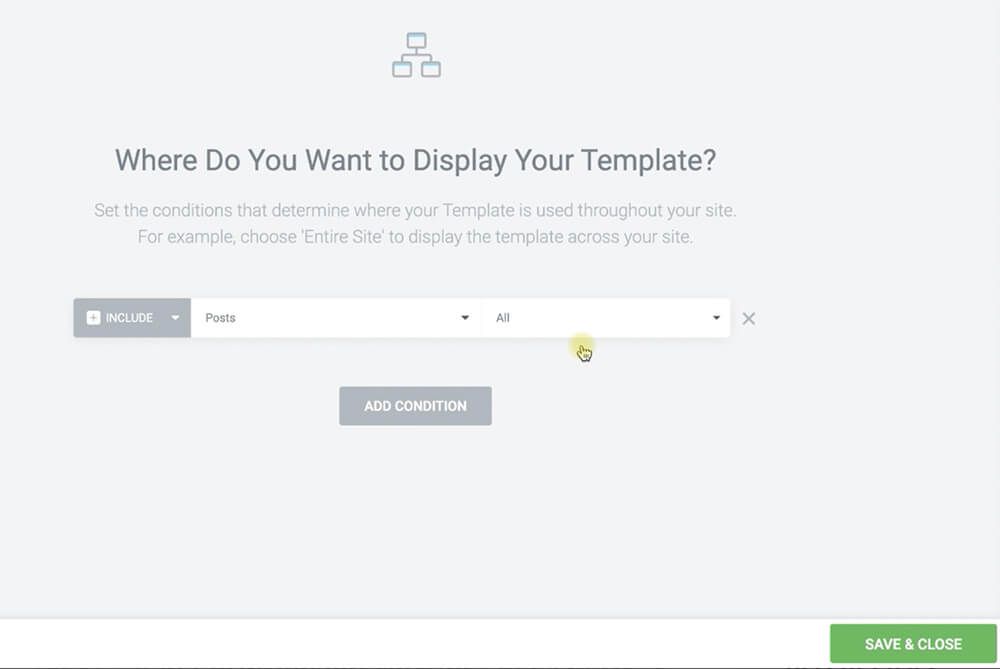
When your post template is ready, click on the publish button and set the condition to display the template on every single blog post.
Then, revisit your post and make sure the new post template is live and active.
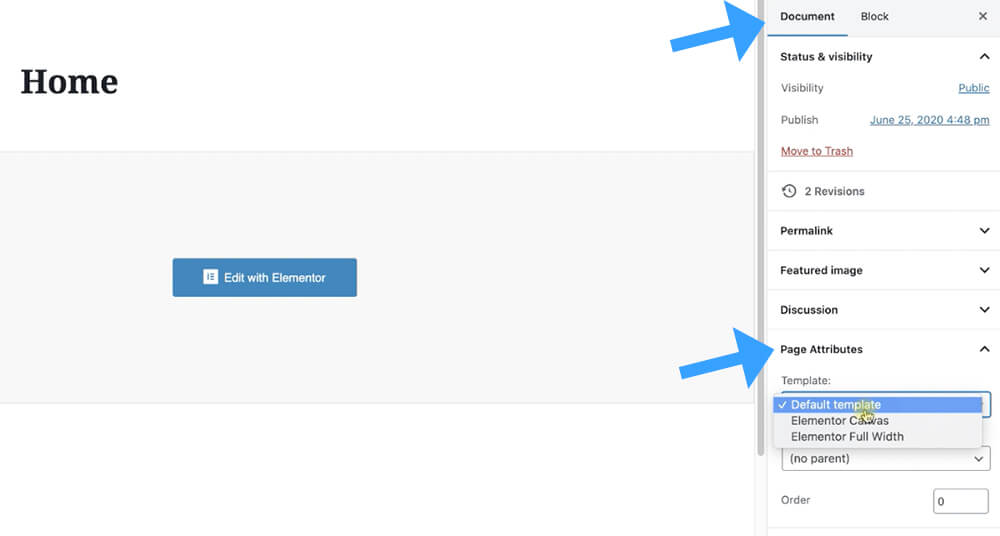
If you don’t see your new post template, make sure that the post template is set to default under the Post Attributes tab.
Before moving on to the next lecture to create an archive page template I would like you to create few more posts so you’ll get used to the process.
Conclusion
In this lecture, we learn what are WordPress blog posts and how to create them. In the next lecture, we will design our Blog page by creating an archive template.