The header is the section located at the top of every page on your website and usually contain the company logo and menu.
Because we have the pro version of Elementor, instead of creating the same header for each of the pages, we will create the header only once as a template and display it on every page.
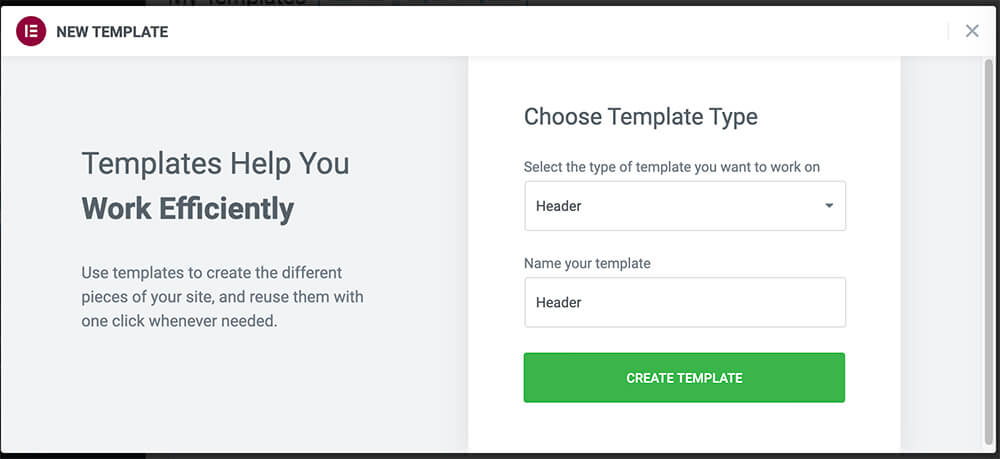
To create a template with Elementor, navigate to Templates -> Create New and choose the Header option from the drop-down menu.
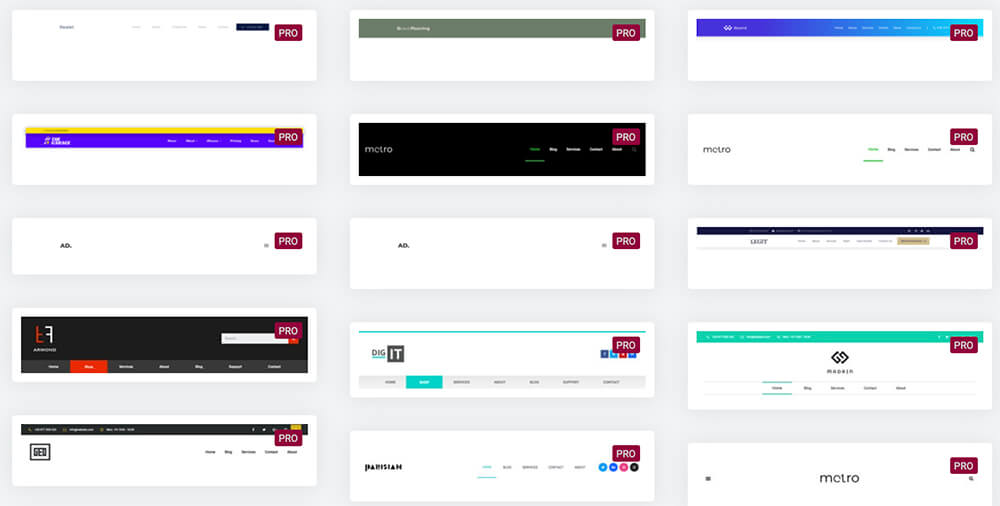
If you already practiced Elementor in the last section, feel free to select any of the pre-made header templates.
If you want to build it yourself, close the templates library and create the header using a blank section.
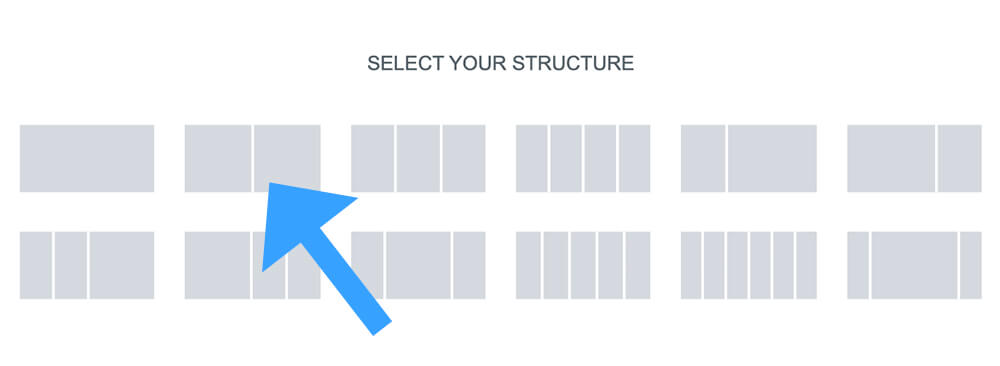
Because most headers contain a company logo and a menu, I’ll choose a section with two columns.
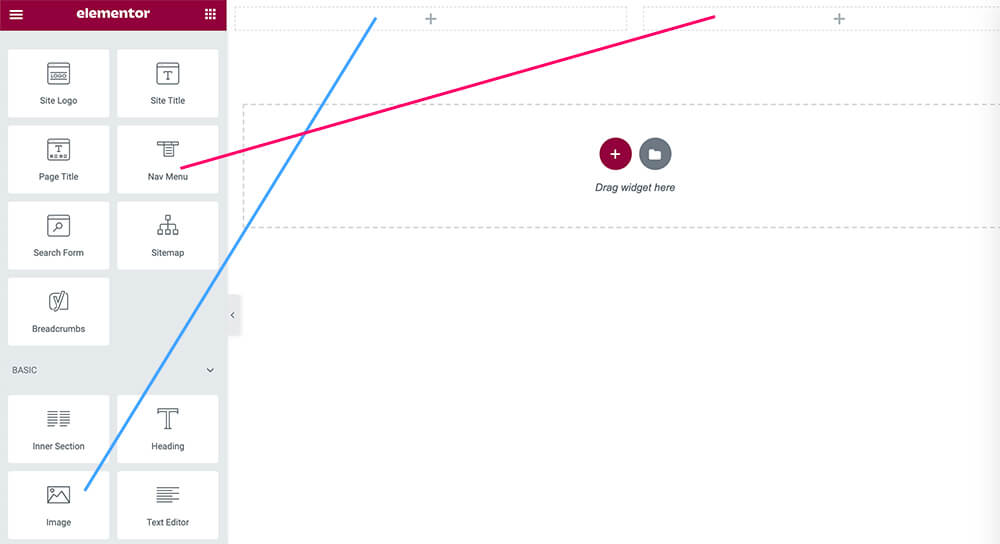
From the widgets list, drag an image widget to the left column and a menu widget to the right column.
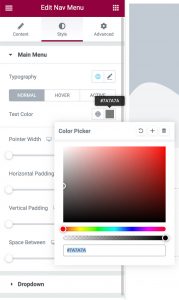
Again, you can edit and design any of the widgets using the three tabs: Content, Style, and Advanced.
For example, when editing the menu widget, you can change the color of the links of the menu items from inside the Style tab.
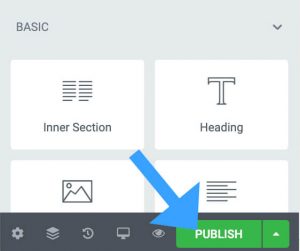
When you are satisfied with the design, click on the Publish button at the bottom left side of the screen.
When editing a regular page with Elementor, clicking on the publish button will be enough to see the changes on the live site. When creating a template, it isn’t the case.
Because it’s a template, on the next screen we will need to add a condition and decide where we would like to present it.
Click on Add Condition, make sure the rule will include the header in the Entire Site and click on Save & Close.

After saving the changes, visit your page once again and see your new header.
In the next lecture, we will move forward and will start creating our homepage.
Conclusion
In this tutorial, we created our header template using the Elementor page builder. In the next tutorial, we will build the homepage of our website.