In this lesson, we will learn how to create a new funnel with Clickfunnels.
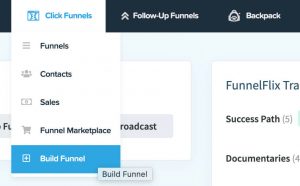
To create a new funnel, navigate to the Click Funnels tab and then to Build Funnel.
The funnel popup dialogue will open up and you will have three different options of funnels to choose from:
- Collect emails
- Sell your product
- Host webinar
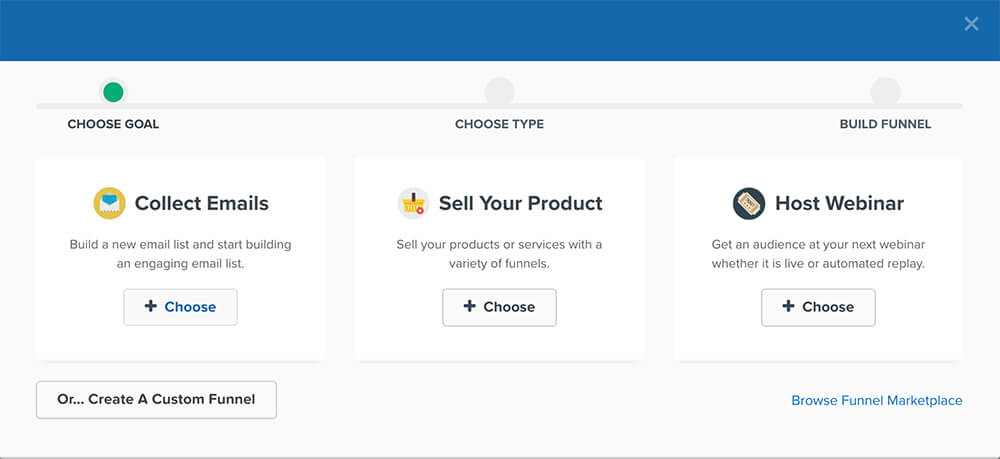
You can choose any of the options based on what you would like to build or click on the ‘create a custom funnel’ button if you didn’t find your desired option.
In our example, I’ll go with the Collect emails option.
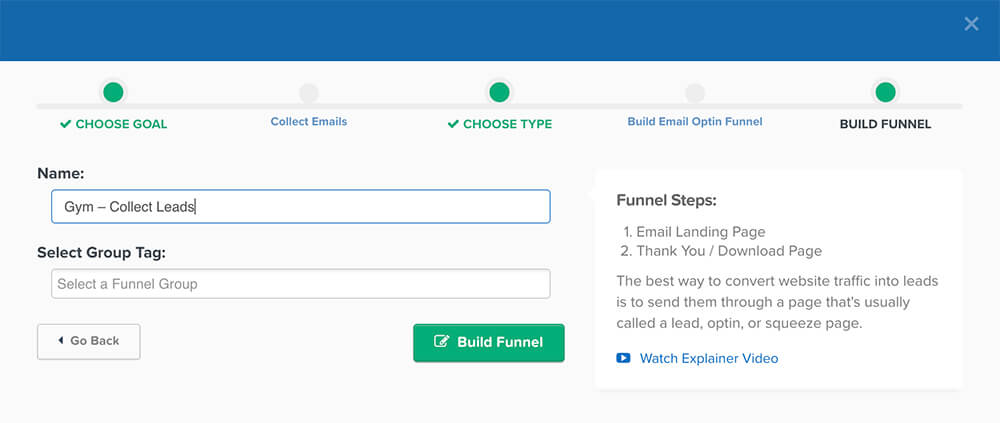
On the next screen, you’ll need to name the funnel. Keep it short and descriptive.
Because we are building a funnel to collect leads for a gym business, I will name it Gym – Collect Leads.
On the right side of the screen, you can see all the steps of this funnel.
Because it’s a simple funnel it only contains two steps (form and thank you page) but you can also add more steps if you desire.
After creating the funnel, you’ll be redirected to the funnel dashboard.
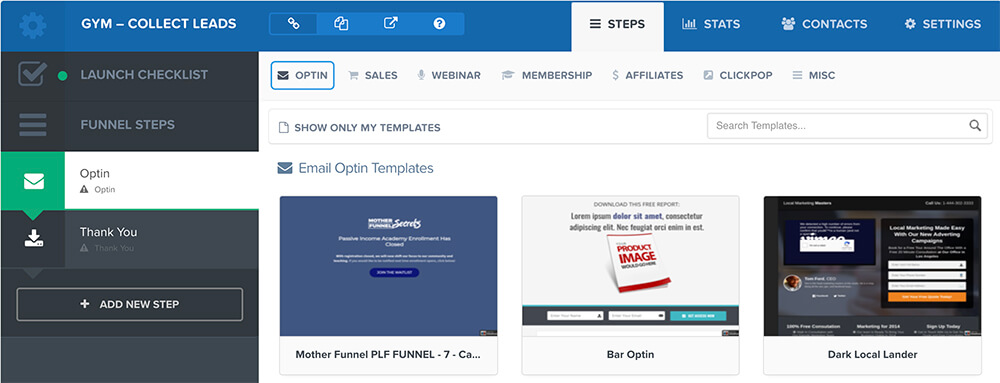
On the left side of the dashboard, you will see all your funnels’ steps with the option to add more steps.
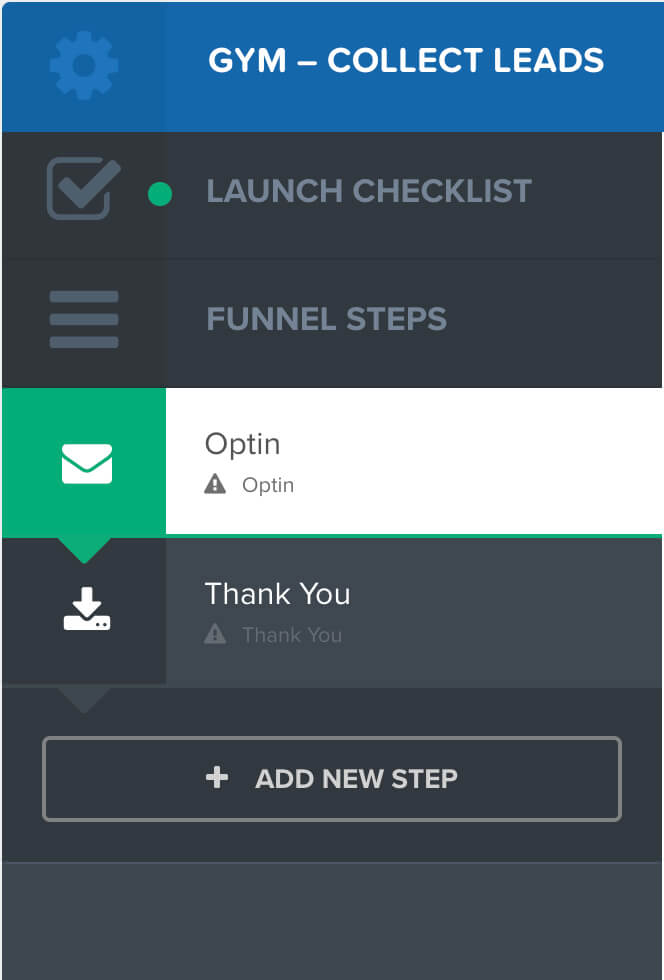
At the top of the dashboard we can find the funnels’ URL links along with four more tabs:
- Steps
- Stats
- Contacts
- Settings

The Stats Tab
The stats tab will provide you with statistics of how many people visited each step of the funnel, how many signed up, and etc.
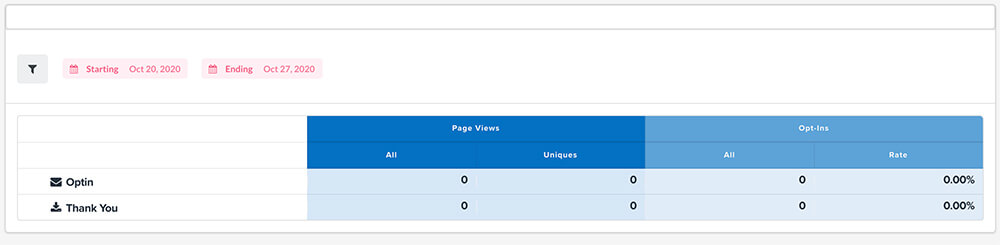
Right now it’s empty because it’s a brand new funnel but soon enough it will be filled with valuable numbers.
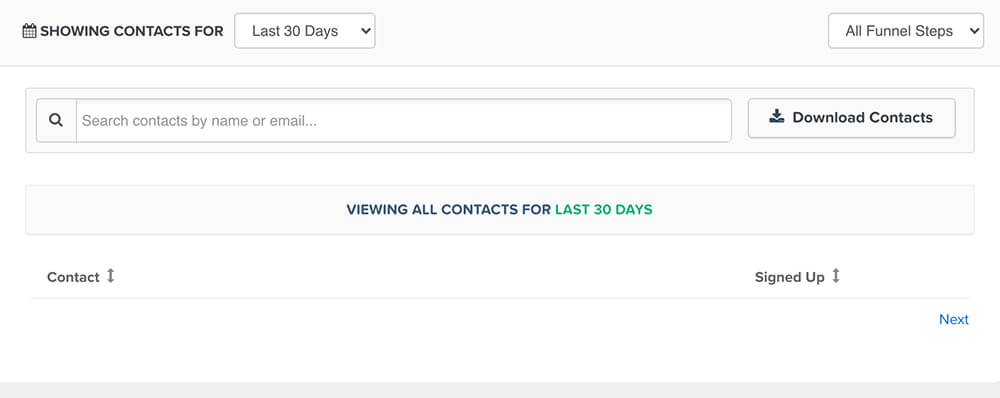
The Contacts Tab
The contacts tab will list all the people who signed up through this specific funnel.
You can see the subscriber name, email address, and all the other information they filled in the lead or sales form.
The Settings Tab
The settings tab will enable you to change the settings of this specific funnel such as URL, favicon, enter tracking codes and etc.
Before building the steps of the funnel there is one thing that we should talk about under the settings tab.
Under the domain dropdown menu, you can choose your custom domain name (if you have one) or leave it blank to use your Clickfunnels subdomain.
Right now, the default URL of the funnel is your Clickfunnels’ subdomain plus the random letters and numbers inside the Path field.
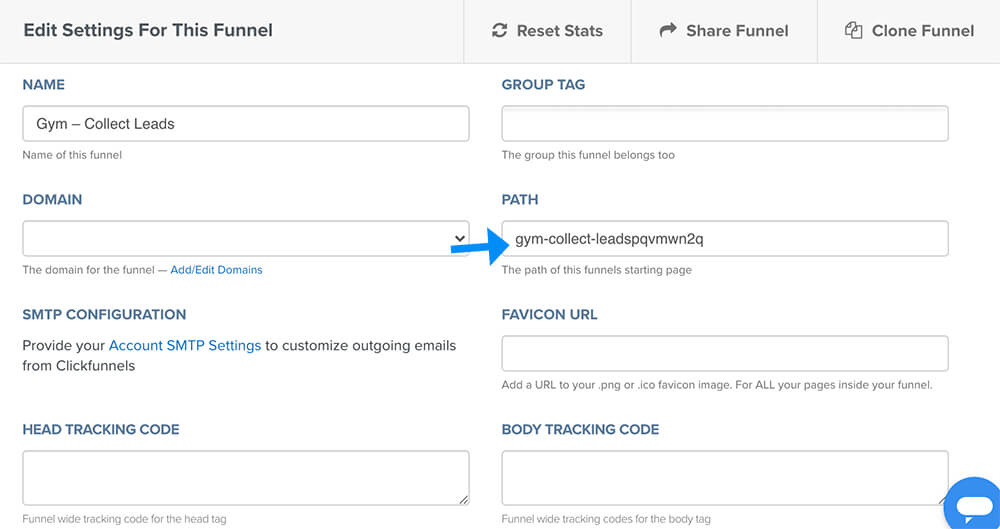
So in simple words, the funnel URL is:
siteborn.clickfunnels.com/gym-collect-leadspqvmwn2q
It will be way easier to remember your funnel URL if you’ll change the path from just random text to something simple like Leads.
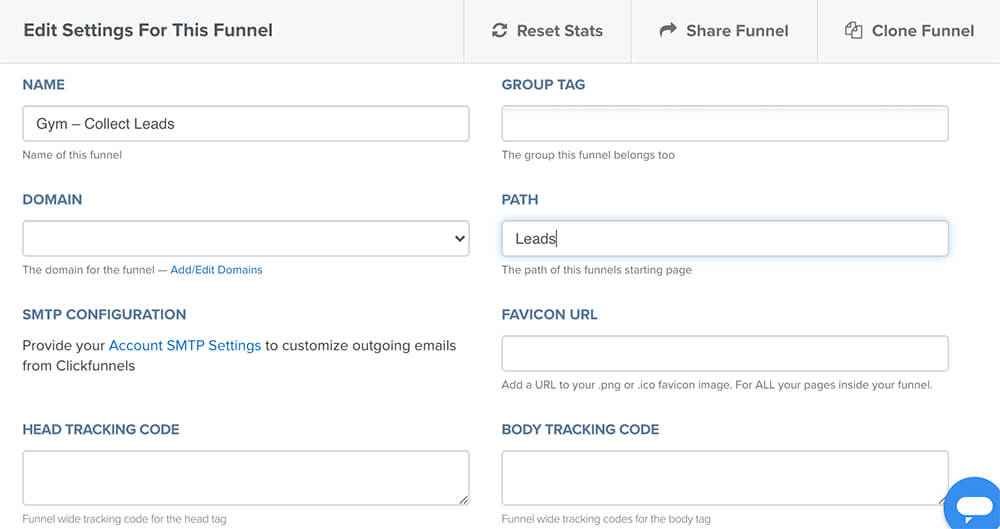
After changing it, make sure to scroll down and click on the Save and Update Setting button.
Now your funnel URL changed and can easily be accessed using the simple siteborn.clickfunnels.com/leads URL.
The Steps Tab
The sub-menu under the steps tab will show you what kind of page or step you are editing plus it will provide you some templates regarding your chosen step.
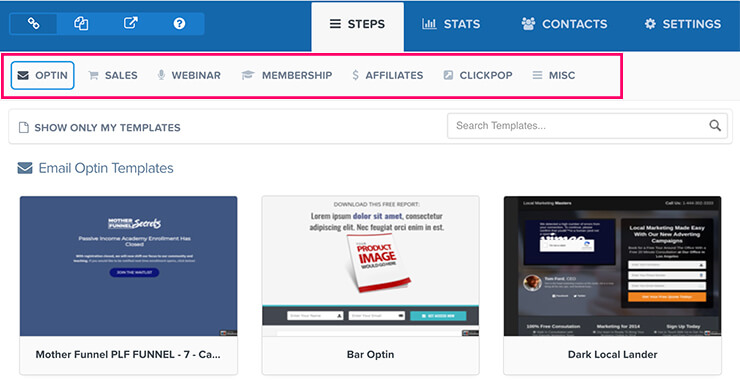
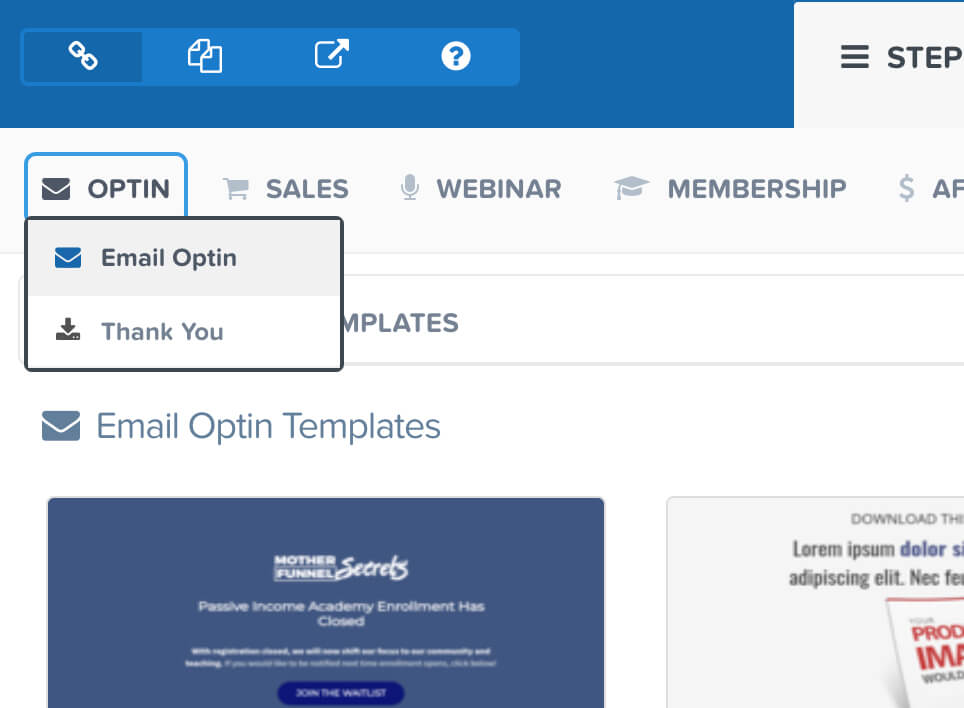
Because we chose to build a funnel to collect leads, the submenu highlighting the Optin -> Email Optin option.
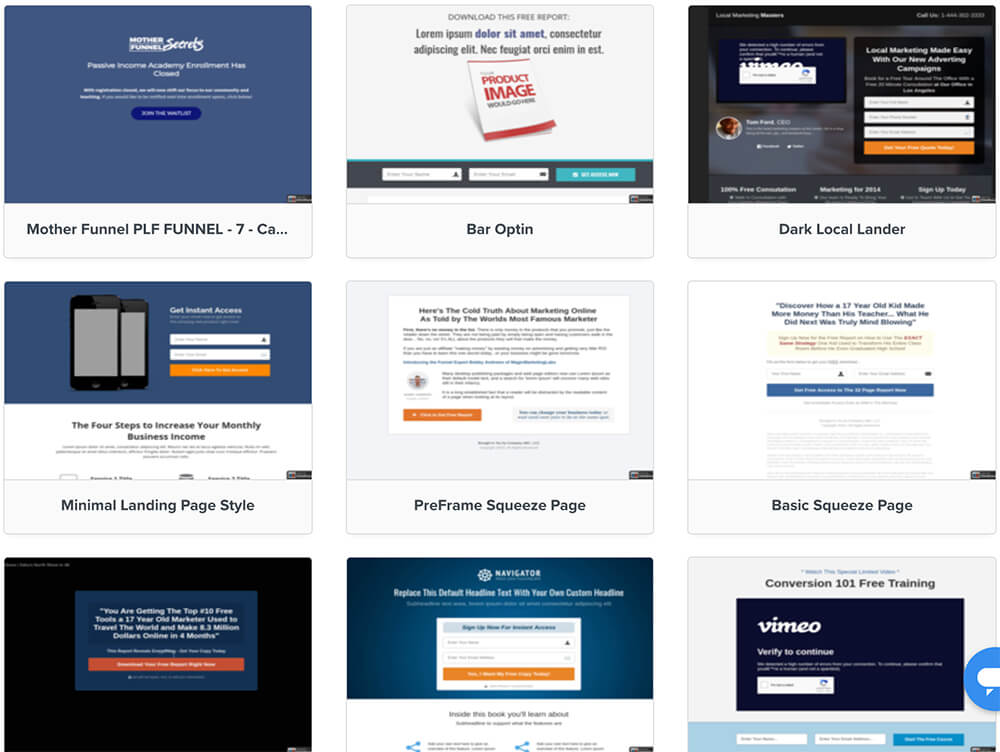
Therefore, all the presented templates to choose from will be related to collecting emails and will contain a form to collect emails.
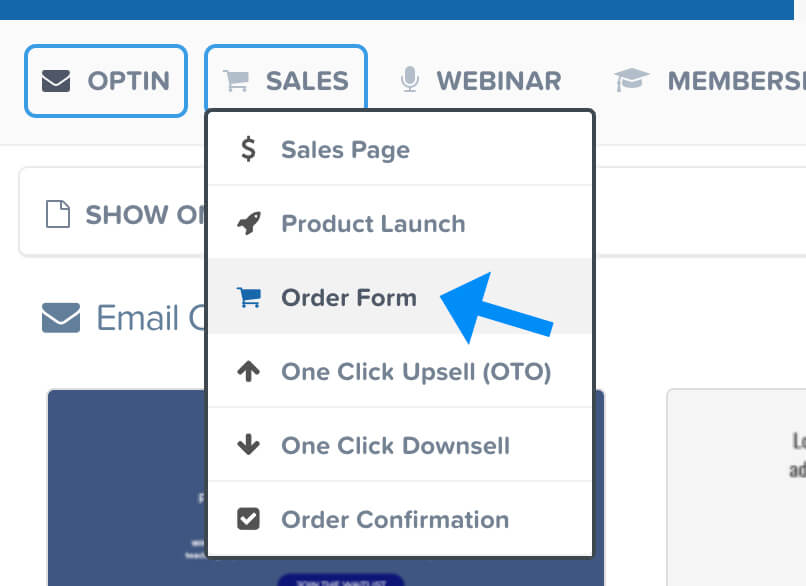
If you would like to change the goal of the step from collecting leads to an order form, you’ll need to choose the Order Form option under the Sales tab and all the available templates will change accordingly and will include an order form.
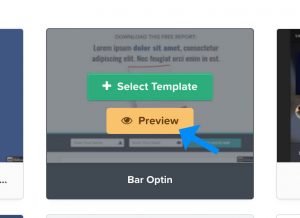
Browse between the different templates, look for the one you like the most, and click on the Preview button if you would like to see what it looks like before choosing it.
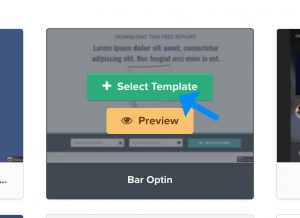
If you like the template, great, click on the Choose Template button and wait for a few seconds for Clickfunnels to generate the page for you.
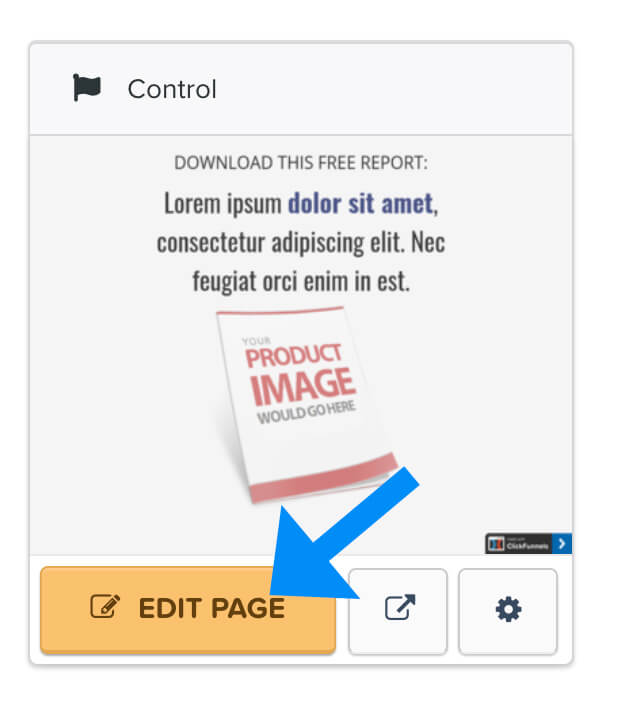
After choosing your desired template, click on the Edit Page button to enter the funnels’ drag&drop editor and start customizing the funnel.
You will need to choose a template for every step of the funnel.
To select a template for the Thank You page, just click on the Thank You step from the left sidebar.
Notice that when choosing a template for the thank you page, the submenu under the Steps tab is now highlighting the Option -> Thank You option and all the available templates are now saying thank you without any forms.
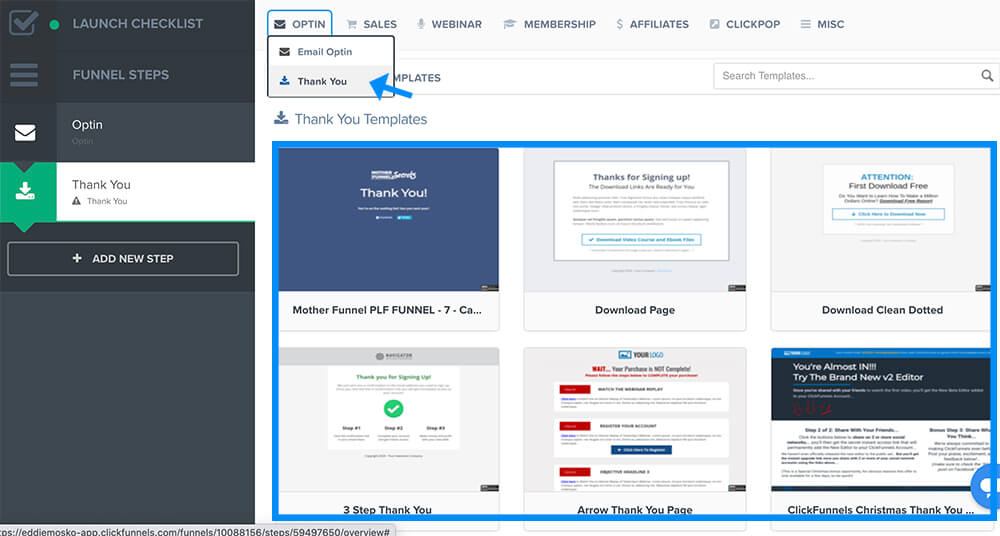
Just like we did with the optin step earlier, browse between the different templates and choose your desired one for the Thank You page by clicking on the Select Template button.
After Clickfunnel will generate the page, you’ll be able to click on the Edit Page button and edit this step of the funnel.
Conclusion
In this lesson, you learned how to create a new funnel with Clickfunnels.
In the next lesson, we will learn how to use the Clickfunnels editor to design and customize your funnels.