From the Clickfunnels settings page, you can change different settings that related to your account such as adding sub-users, change your plan, and etc.
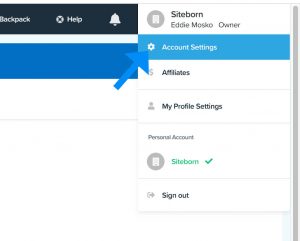
In this lesson, we will talk briefly about each of the options and what they are good for.
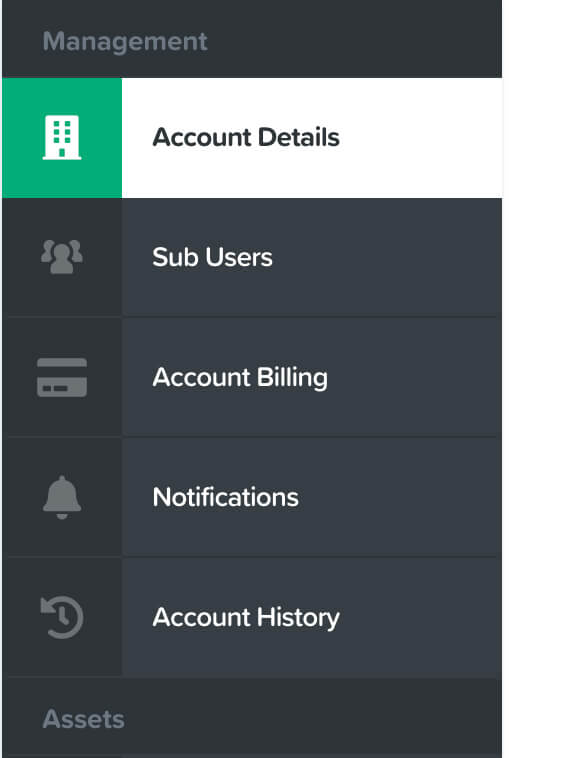
The first option on the list from the left is the Account Details.
Account Details
From inside the Clickfunnels account details tab, you can view some information regarding your accounts such as your name, company, business name, subdomain, and etc.
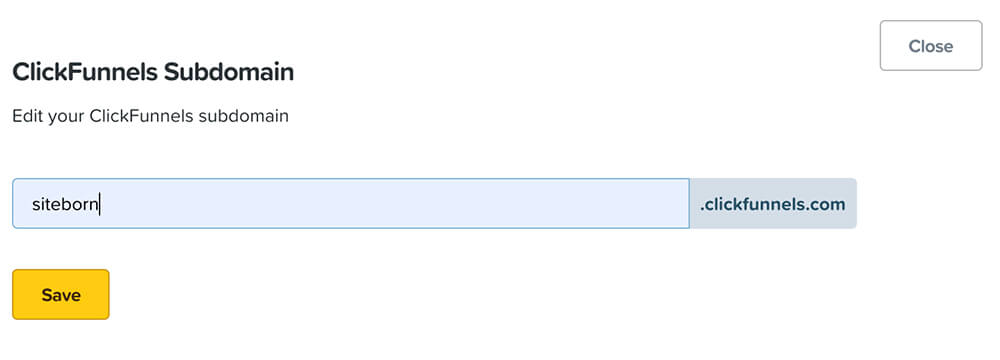
By default, every Clickfunnels account comes with a sub-domain of random letters and numbers added to .clickfunnels.com.
Example: random12345.clickfunnels.com
This is your sub-domain and you can access your dashboard by typing the address in your browser.
It will be better for you to change the subdomain to your first name or business name because it will be easier to remember and share your funnels.
Example: siteborn.clickfunnels.com
I recommend you move through the different options of the account details tab and change the relevant ones to fit your business such as name, address, and logo.
Sub Users
From inside the sub-users tab, you can add additional users to your Clickfunnels account.
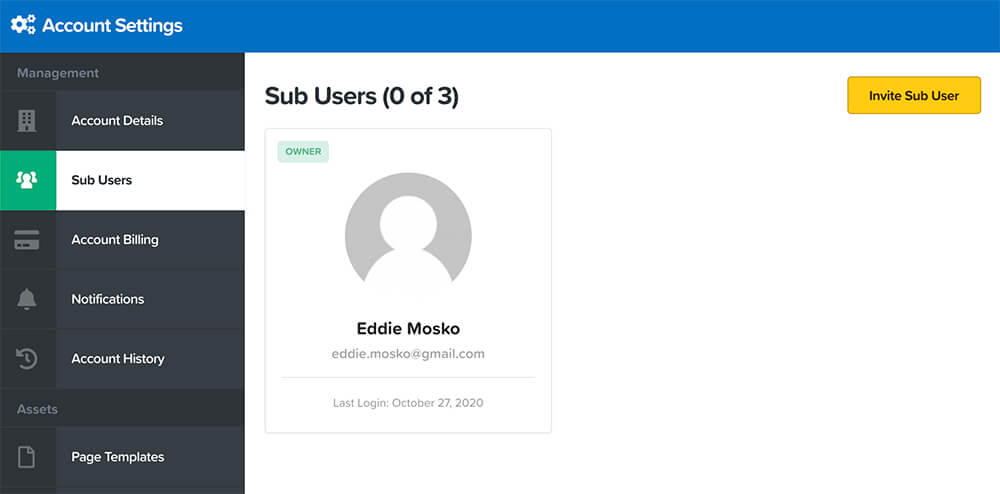
You are allowed to have five different users.
If for example, you have a business partner or a developer that you would like them to access your account too, just add them as sub-users.
That way they will be able to log in to your account using their own username and password without using yours.
Account Billings
From inside the account billing tab, you can see which plan you’re on, what’s your billing cycle, and also change your payment information.
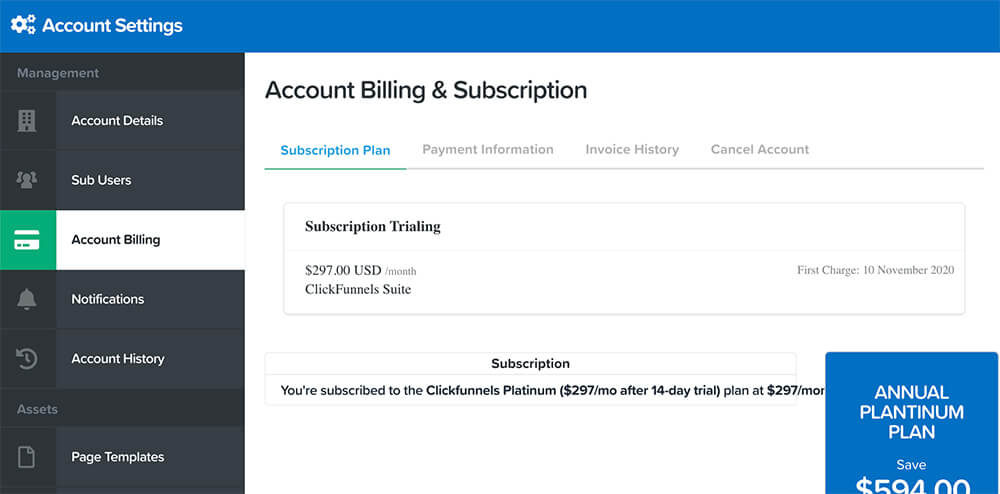
If you used my link to register to Clickfunnels, you should get the first 14 days free of charge and this page will indicate it.

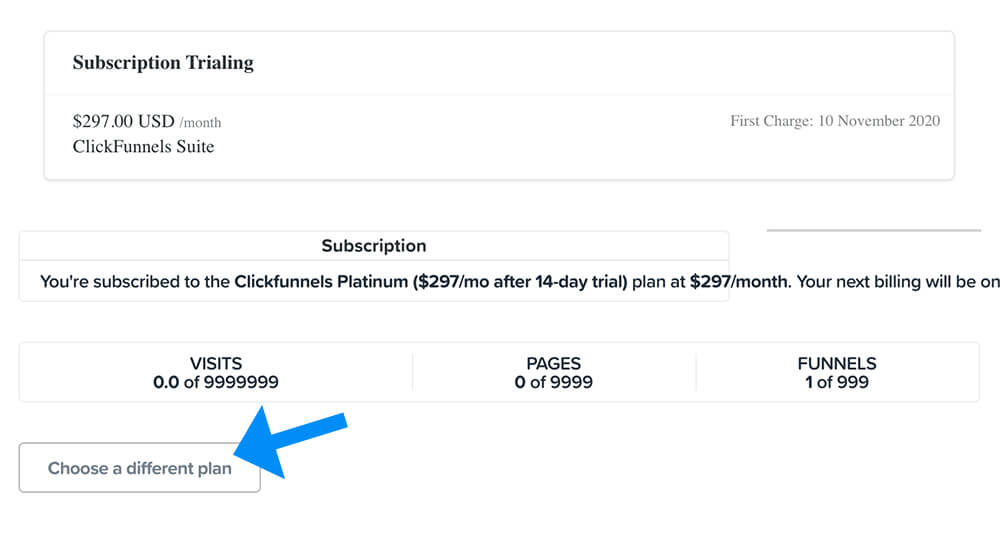
Also, if you would like to change your plan you can do so by clicking on the Choose a different plan button.
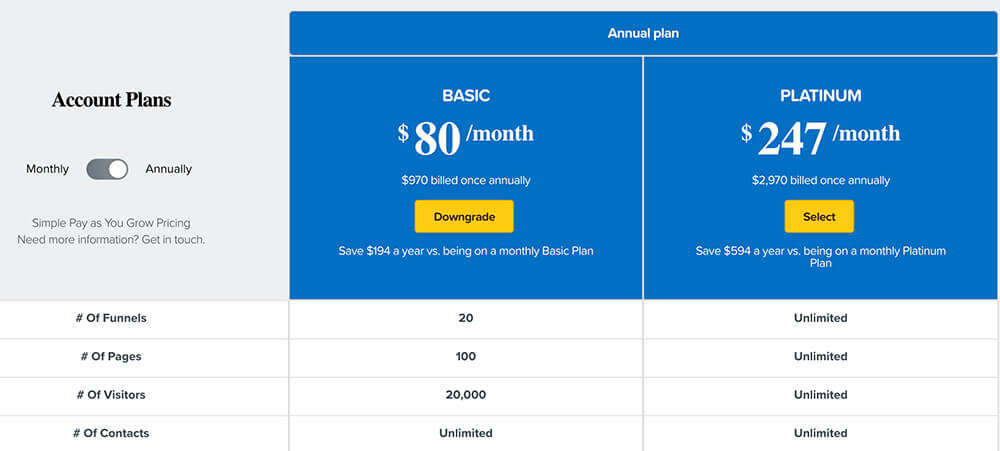
Then, you can choose whether to downgrade or upgrade your current plan by clicking on your desired plan.
Notification
From inside the notification tab, you can adjust the notification settings.
You can add additional emails where you would like to get notifications.
If for example, you have a business partner that needs to be informed of new notifications, you can add his email address.
Account History
The account history tab will display the activity log of your account.
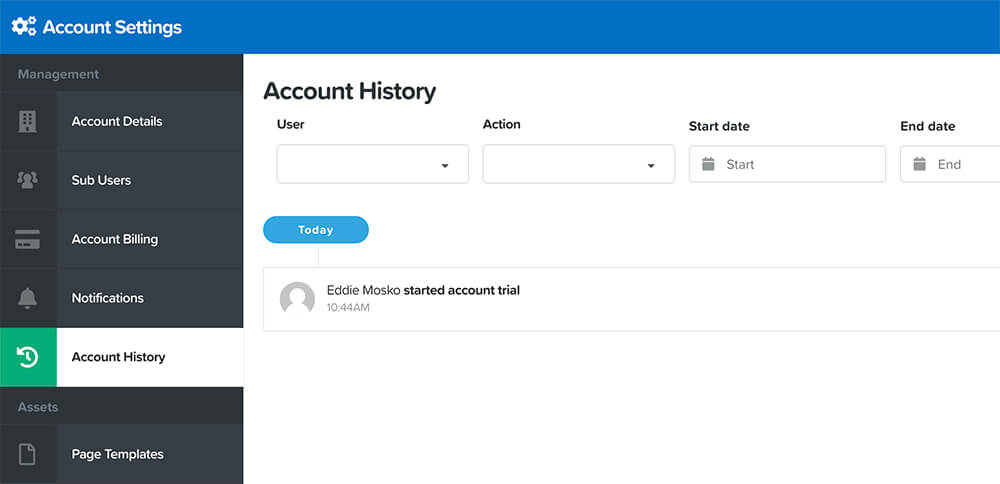
You can see there every action that was made to your accounts such as when was the last payment, whether you downgraded or upgraded your plan, and etc.
Page Templates
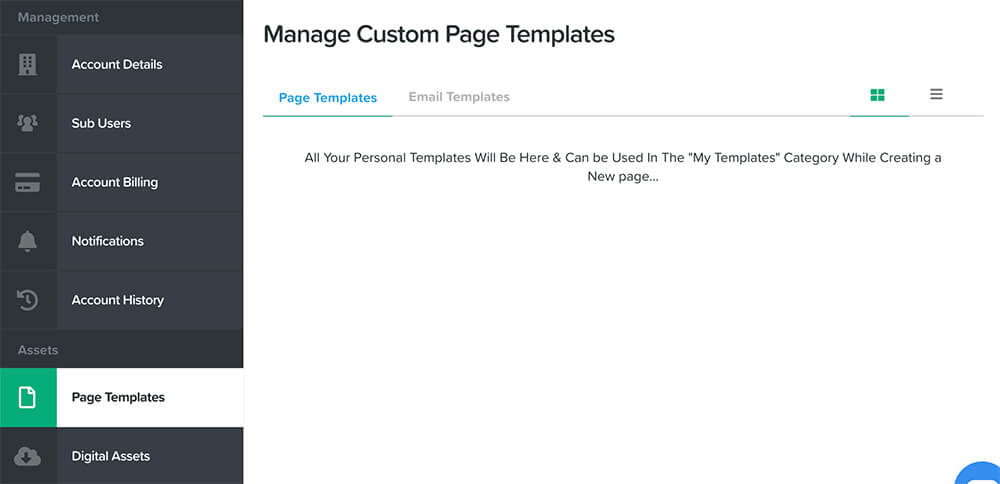
From inside the page template tab, you can access all your saved templates.
During your Clickfunnels journey, you’ll build many funnels, some good and some not that good.
When you like any of the pages of your funnels, it will be a good idea to save your favorite pages as templates.
That way, you can use the same page design for your future funnels.
All the pages you’ll choose to save as templates can be accessed from inside the Page Templates tab.
Digital Assets
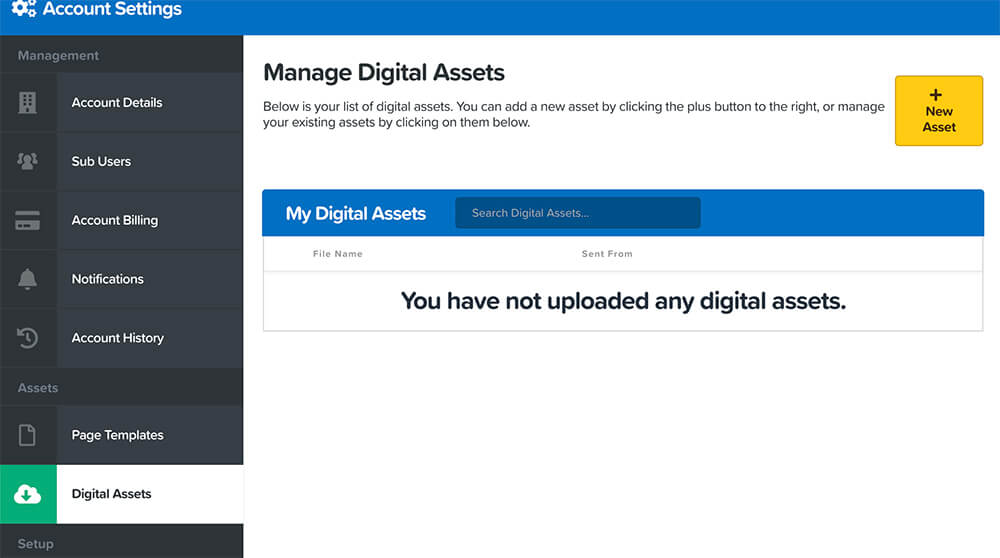
Inside the digital assets tab, you can find all the digital files that you uploaded to your Clickfunnels account.
When creating a lead capture form or a funnel to sell a digital download, you will need to provide a download link to your promised product.
Before getting the download link of the product, you will need to upload it first to your Clickfunnels account from inside the Digital Assets tab.
After you uploaded the file, you can grab the download link of the product and add it to the Thank You page of the funnel.
When your customers will click on the download link of the ‘thank you’ page, the digital file will start downloading.
Integrations
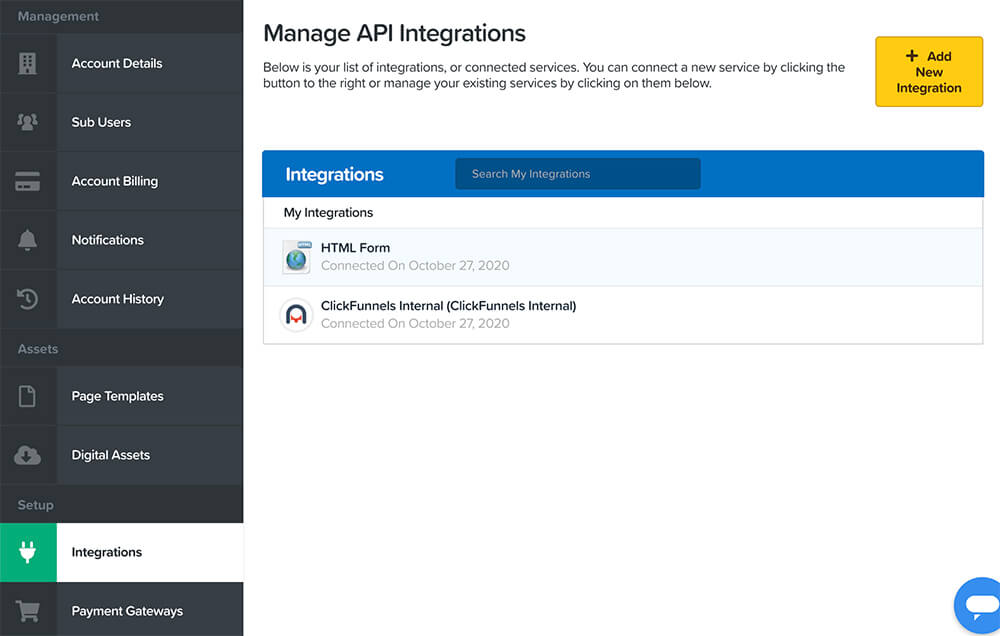
From inside the integrations tab, you can choose 3rd party apps to integrate your Clickfunnels account with.
For example, while many of you using the Platinum plan to send follow-ups emails to customers, others are preferring apps like Aweber to accomplish that.
The integrations tab will let you integrate your Clickfunnels account with apps like Aweber and transfer your collected leads.
Aweber is only one example, Clickfunnels can integrate with many other applications like Gmail, Asana, Zendesk, and etc.
Payment Gateways
From inside the payment gateways tab, you can integrate your Clickfunnels account with different payment services to collect money.

If for example, you’re building funnels to sell products, you should connect your account with payment gateways such as PayPal or Stripe (for credit cards).
When using popular and trusted payment gateways, you can charge customers from all around the world.
Email Integrations (SMTP)
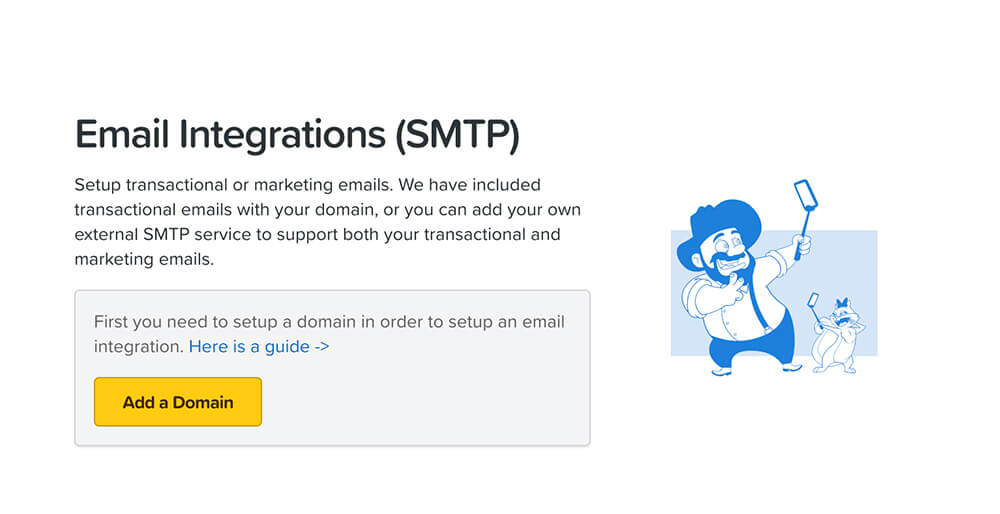
If you are using a custom domain name instead of your Clickfunnels sub-domain name and subscribed to the Platinum plan, you will be able to send emails to your customers using your custom domain name email address.
For example, you can create a new email address with your subdomain like so: [email protected].
When sending emails messages with your own custom email, your visitors will recognize your business and it will improve your email open rate.
Domains
As said above, Clickfunnels will use a random subdomain for your account.
You can change the subdomain random letters and numbers but it will still show the .clickfunnels.com at the end of the URL.
A more professional way to run your online business will be to register a custom domain name for your business.
Inside the Domains tab, you will be able to register a brand new domain, or used your own domain if you already own one.

To register a new domain, just click on Add New Domain and type in your desired domain name.
Choose your desired extension (.com, .org, etc.) and validate that it’s available.
If it’s available, choose it, and go through the checkout process.
After registration of the domain, it will take about four hours for Clickfunnels to set it up for you and then you will be able to use your custom domain name with your funnels.
Global Unsubscribes
The last tab is the global unsubscribed.

This tab will list all your leads that unsubscribed from all your different funnels.
Conclusion
In this lesson, we walk through the different settings tab and learned what are each of them is good for.
In the next lesson, we will start building the first funnel.

