Are you getting married and want to have a website for your special day? If so, you came to the right place because in this article you’ll learn how to make a website for a wedding.
Before we will start making the website, I first would like to congratulate you for finding your life’s partner and would like to wish you all the best 🙂
There are many things to worry about before the wedding day. If you already start planning for that anticipated day, you already know what I’m talking about. My goal is to simplify the process of making a website and to show you the easiest way possible.
There are three main reasons why a wedding website can make the wedding preparation process a whole lot easier:
- Information – from the time you announced that you and your loved one are getting married, a ton of questions will be sent your way. Answering them all one by one will cost you valuable time and stress. When you have a website, you can present all the information on your website and send your attendees there to find answers to their questions.
- RSVP form – instead of dealing with long and complicated lists that are impossible to track, your website will present a form that your visitors can fill to reserve their spot.
- Gift registry – the website we’ll make will have a link to your wedding gift registry filled with items that you’re interested in. No more guesses, get exactly what you need to start your life journey together.
Hopefully, now you understand the necessity of a website for this event
- Domain Name and Hosting
- Best Wedding Website Platform
- Site Preparation
- Design the Website
- Add an RSVP Form
- Create a Gift Registry
- Before Launching the Site
- Conclusion
- Frequently Asked Questions
Domain Name and Hosting
The first thing that any website’ requires is an online address also known as a domain name.
The domain name is the address that the visitors will need to enter in their browser to land on your website.
For example:
danandamywedding.comA hosting provider will hold all your content (such as text & media), and deliver it to the site visitors.
Both these components are required and luckily we can get them both in one place and for pretty cheap too!
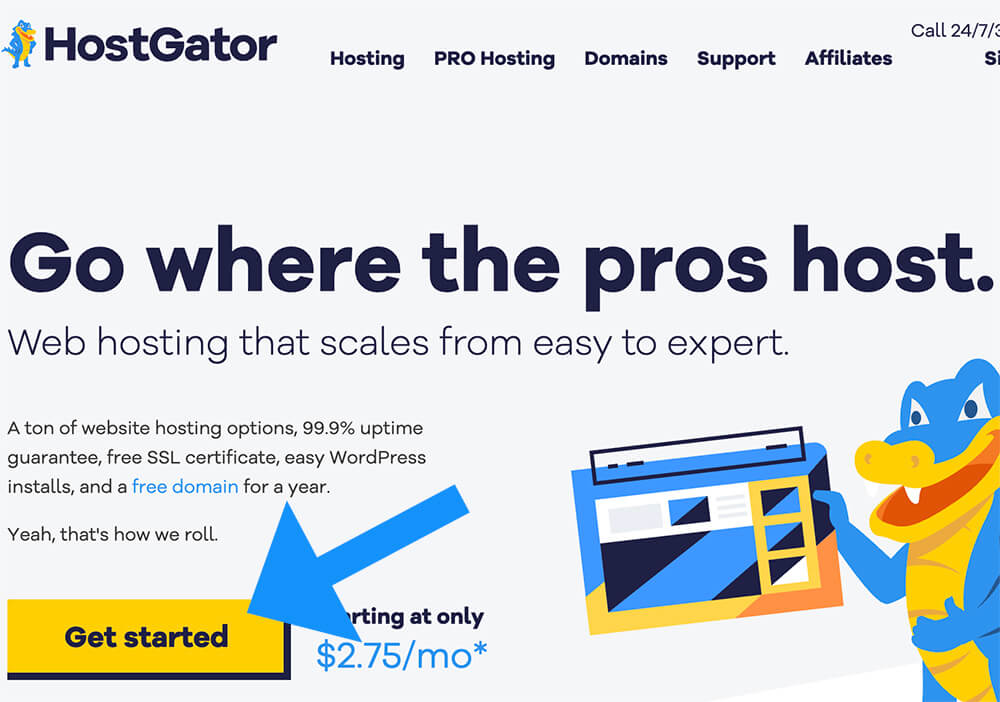
First, navigate to HostGator and click on the ‘Get Started’ button.
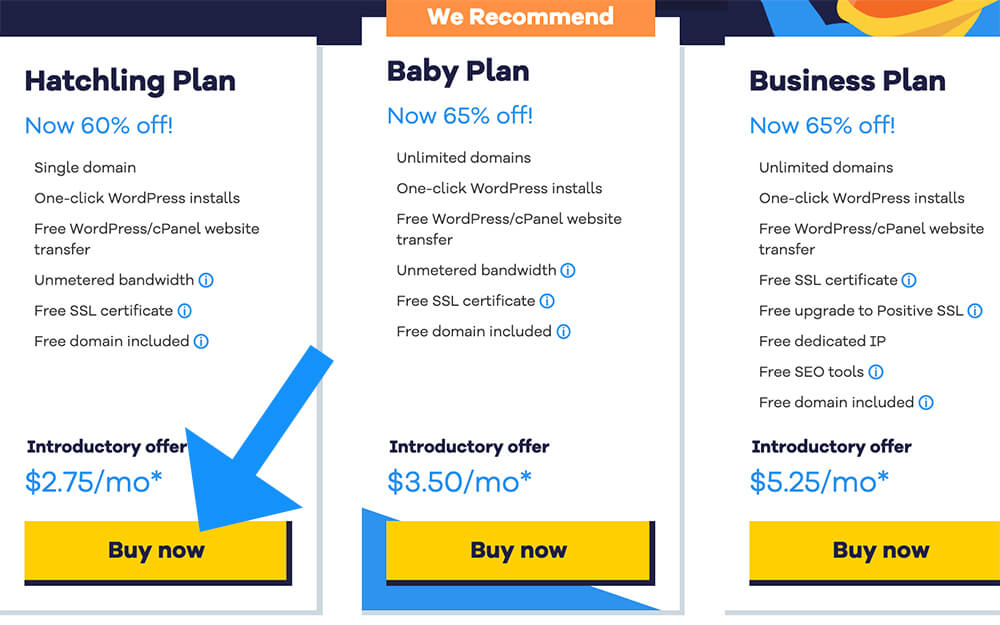
Then choose the Hatchling Plan and click on the ‘Buy now’ button.
Choose a domain name
On the next screen, type your desired domain and hope it’s available and can be registered.
If the domain is already taken and can’t be used, try a different one or add the word wedding to it.
In our example, we used the danandamywedding.com domain.
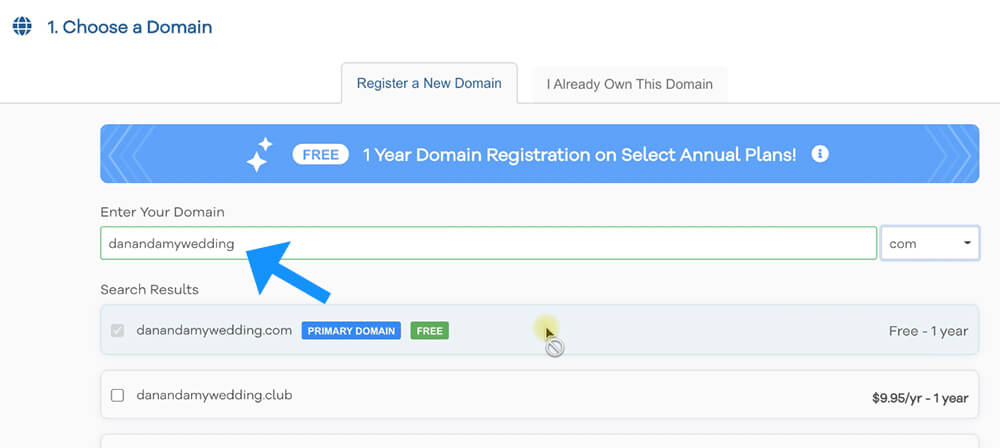
After finding an available domain, scroll down the page and move on to the second step.
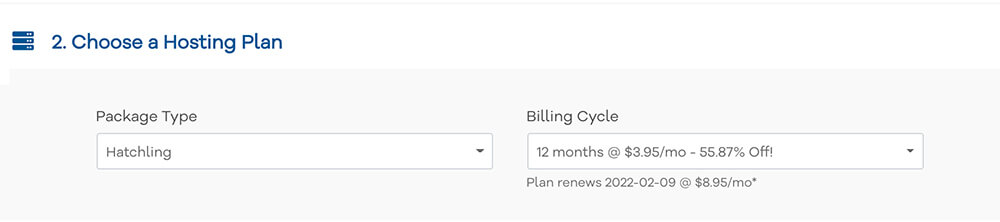
Choose a hosting plan
In this step, verify that the hatchling plan is the chosen one under the package type and select a billing cycle.
On the right side, you’ll need to choose a billing cycle. In other words, for how long would you like to sign up with the hosting plan.
Keep in mind that some unexpected events can cause the wedding to be delayed so chose the billing cycle wisely.
If for example, the initial wedding ceremony will take place in about 6 months, I recommend you to sign up for the 12 monthly plan to be on the safe side.
Another reason to keep the website for few months after the wedding is to let the unattended family members and friends access the gift registry in case they missed the wedding.
Create HostGator account
In this step, you’ll need to enter your personal email address and choose a password for your hosting dashboard,
You’ll also need to select a security pin. A security pin can be useful to get support from HostGator. When support is needed, they will ask for your security pin to verify your information for authentication before helping you.
Just make sure to keep it in a safe place in case you’ll ever need it.
Finish the register process
On step number four you’ll need to fill the form with your personal data such as name and address and choose whether to pay with a credit card or PayPal.
On step number five make sure to unchecked all the additional services. We don’t need any of them and we would like to save as much money as possible.
On step number six, when you’re asking to enter a coupon code, make sure to enter ‘wedding’ to save a lot of money.
This code will help you to save over 50% off on any plan you’ll choose.
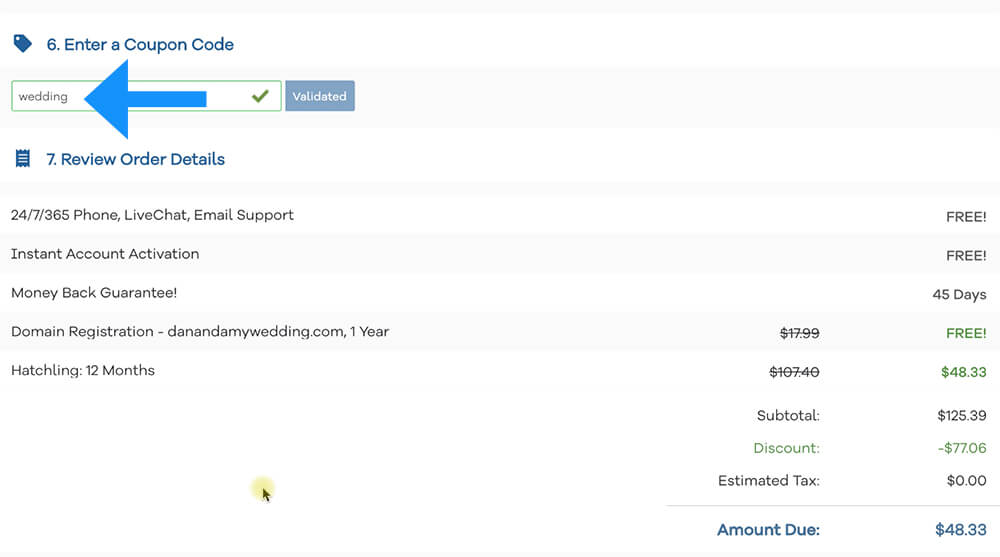
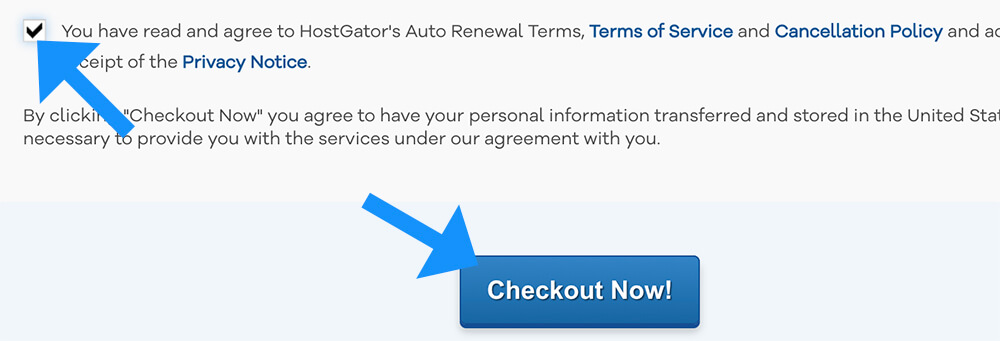
Then, just review the order, make sure everything is correct, check the terms box and click on ‘Checkout now’.
HostGator will now prepare your dashboard. This is a quick process that will take no longer than a couple of minutes. At the end of this process, you’ll be redirected to the dashboard where we can install our website builder (WordPress).
Best Wedding Website Platform
In this article, we will use WordPress to build the website for our special occasion for a few reasons.
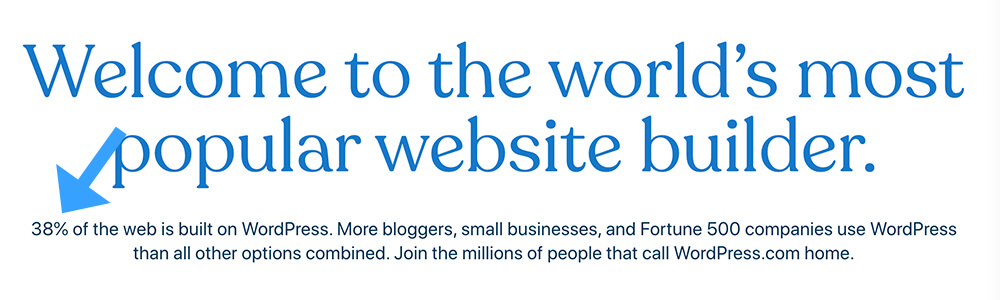
WordPress is the world’s most popular platform to build websites. In fact, 39% of the website are built with WordPress.
Thanks to that, large support groups and forums were opened and will help you to find a solution to any problem that may pop during the creating process.
Another great reason for using WordPress is the cost. While services like Wix and Squarespace will charge you monthly fees to use their hosting service, With WordPress you’re not tied to any of them and can choose your own hosting.
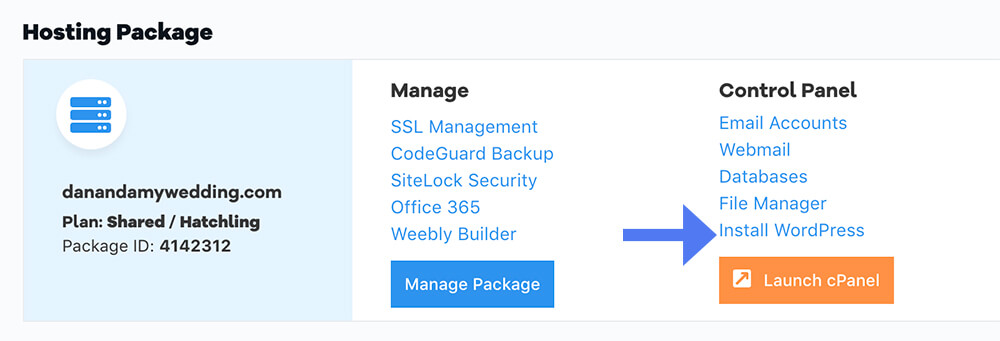
Install WordPress
From your HostGator dashboard, click on the Install WordPress link.
On the next screen, we will need to change some of the basic fields.
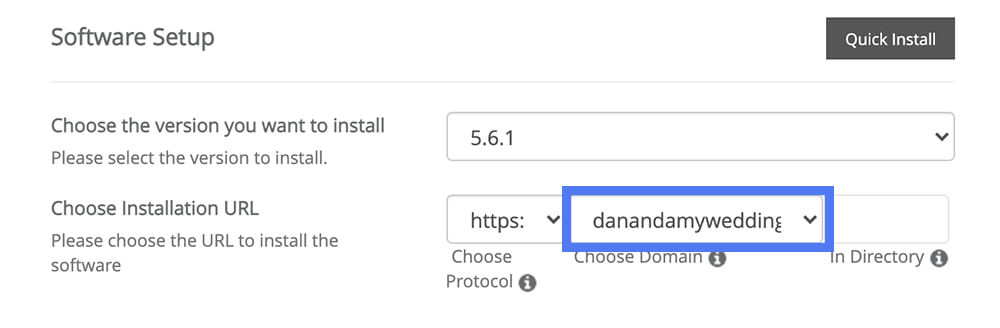
First, in the software setup section, make sure your new domain is the selected one in the choose installation URL option.
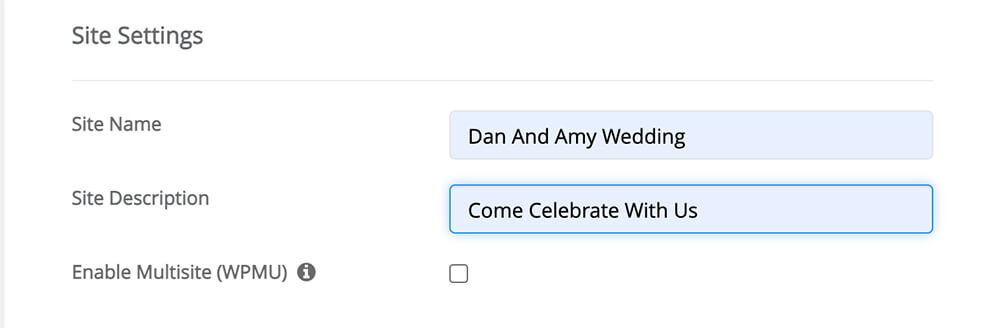
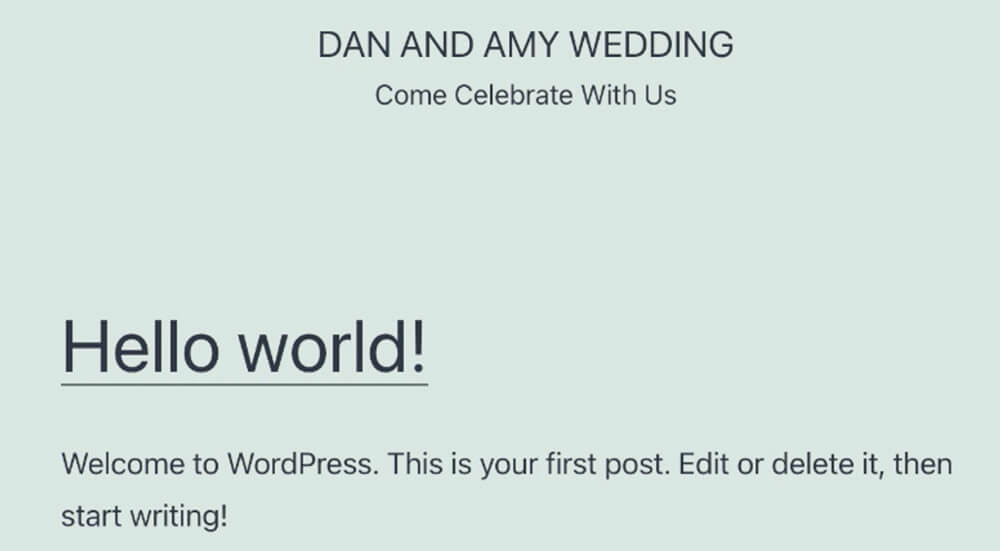
Under site settings, enter your site name and description to match your wedding. In our example, the name is ‘Dan and Amy Wedding’ and the description is ‘Come Celebrate With Us’. You can always change it later on inside the WordPress dashboard so don’t spend too much time on it.
For the admin account section, change the simple password from ‘pass’ to a more secure one. You can use the key icon on the right of it to automatically generate a strong password.
Make sure to write it down somewhere because you’ll need to use it to log in to your WordPress dashboard.
Also, change the admin email address to your personal address (the same address you used to register with HostGator).

In the next section, choose the installation language of WordPress.
When done, scroll all the way to the bottom and click ‘install’.
The installation process of WordPress will begin and will only take a few minutes. By the end of it, you’ll be presented with a link to your website and dashboard.

Click on the bottom link to access your WordPress dashboard. If you get an error message, that is okay. It may take about a couple of hours for the domain to propagate and be available.
It’s a good time to take a break and think about your future husband or wife 🙂
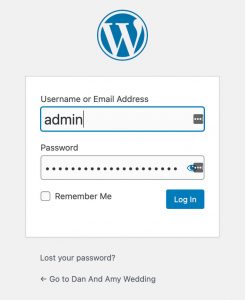
After your domain name propagated successfully, open the website’s dashboard by adding /wp-admin to the end of the URL.
your-domain-name.com/wp-adminOn this screen, enter the username and password we created above and log in.
Congratulation, you just entered the backend of your website also called as WordPress dashboard.
You as the administrator of the website are the only one that can see this screen. It’s a good idea to get familiar with that screen because you’ll spend some time there.
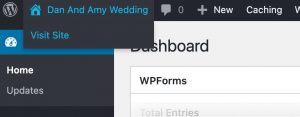
The top black bar is called the admin panel and the left bar is called the admin sidebar.
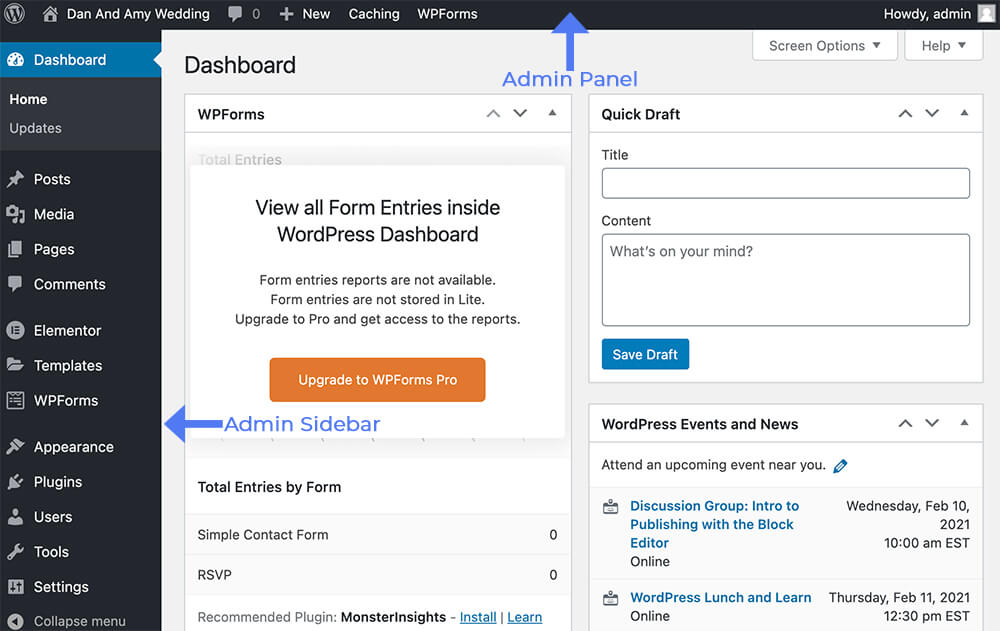
As we’ll move forward with the article, we’ll walk through and get familiar with many different options of the sidebar.
To see what your website actually looks like for regular visitors, click on the site name in the admin panel.
In the current state of the website, there is not much to see. The front page just shows the ‘Hello World’ post that came pre-installed with WordPress.
Soon enough we will create a new home page and display it instead.
Site Preparation
In this section, we will prepare everything we need before actually start building the website.
Some of our tasks are changing the current theme, create a new page, change some basic settings and install our page builder plugin.
Let’s start by changing the theme first.
WordPress themes
Themes are used to simplify the process of creating a website. It is a collection of templates and style sheets that define the appearance and display of the website.
Every fresh WordPress website comes with preinstalled themes called twenty-year. For example, Twenty-Twenty, Twenty-Twenty One, and so on.
Before the page builders era (we will talk about it later), we had different requirements from our themes.
We needed our chosen theme to do everything for us includes sliders, headers, sidebars, etc.
Today, the situation is different, we can do everything with page builder plugins instead and therefore our requirements from the themes changed accordingly.
The main things that we are looking at in every theme are to be light, fast, and flexible.
Therefore, we should change our theme to one that will work seamlessly with our page builder.
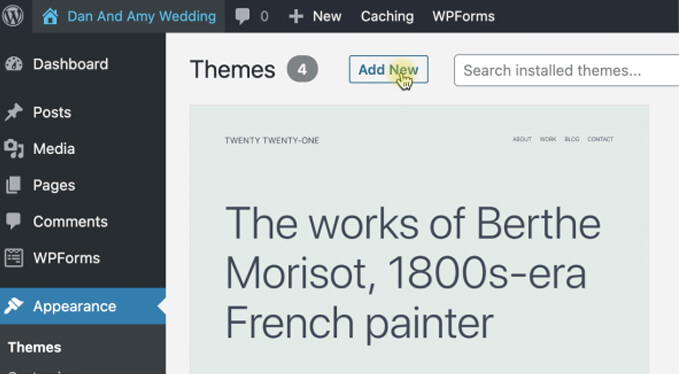
To choose a different theme, navigate to ‘Appearance -> Themes’ and click on ‘Add New’.
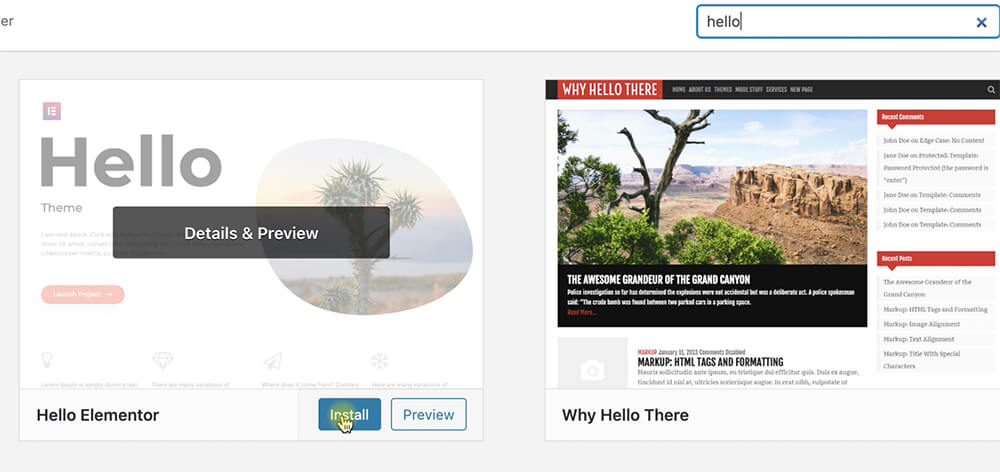
Use the search bar on the right and look for Hello Elementor. Then click on Install and then on activate.
The Hello Elementor theme is now active on your website and ready to be used.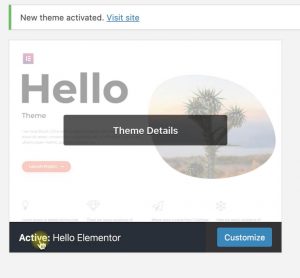
Revisit your homepage and see that it did change a bit but nothing on it. The homepage is still displaying our latest blog posts and we should change it now.
Create a new page
Before changing the home page, we first need to create it. To open a new page navigate to ‘Pages -> Add new’.
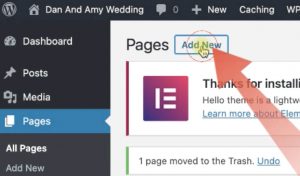
Name the new page ‘Home’ and click twice on publish. We don’t need to populate it with any content because we will use a page builder named Elementor to design it instead of the default WordPress Gutenberg editor.
Creating a new page and call it home does not automatically means that WordPress will use it as our front page. For that, we will need to change the settings.
Change the website’s settings
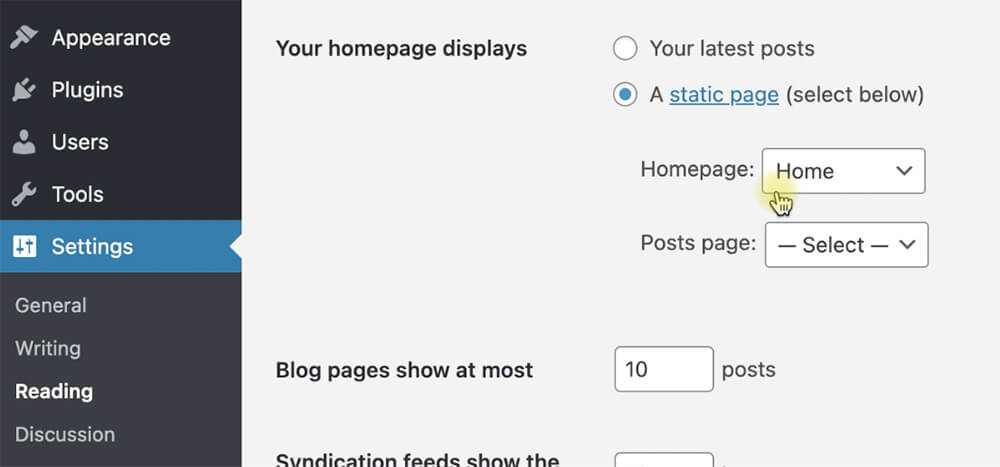
To notify WordPress about our new wedding homepage and define it as our front page, navigate to ‘Settings -> Reading’ and change the homepage displays to a static page.
Select the new Home page we created above from the drop-down menu and save the changes.
Next, navigate to ‘Settings -> Permalinks’, choose the Post name option and save the changes.
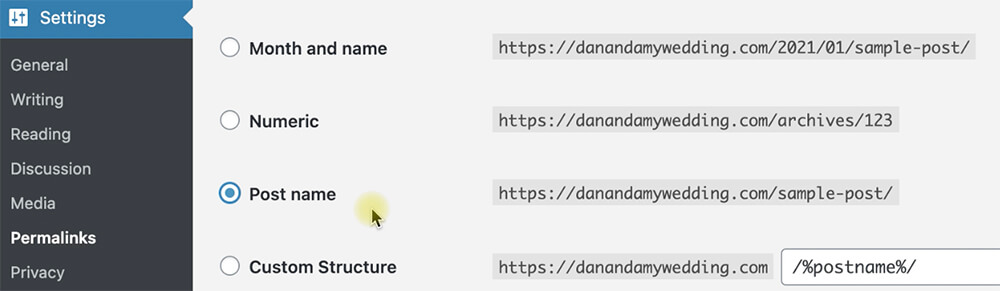
The post name option will make access to your other pages easier by shortening the URL.
For example, after creating a new page called Directions, you can use the your-wedding.com/directions URL to access the page instead of the your-wedding.com/the-created-date/directions URL.
Before moving on to the next and most fun section of the article, we have one more thing to do which is to install our page builder plugin called Elementor.
Install Elementor
Plugins are extensions to expand the functionality of WordPress. The default version of WordPress comes with only a few plugins but you can add more from the plugin repository.
Elementor is a visual page builder plugin that helping us to build professional websites fast without the need for programming or designing skills.
To install Elementor, navigate to ‘Plugins -> Add New’ and use the search bar on the right to look for Elementor.
The first result on the left is the plugin that we need. Click on ‘install’ and then on ‘activate’.

After activating the plugin, a new Elementor tab was added to the left sidebar.

Great job, we can now move forward and start making our wedding website.
Make a Website for Wedding
Now that all the stars aligned together, with our relationship and website prep, we got to the fun part of this article which is making the website.
Go back to the ‘pages’ screen and click on the Home page to edit it.
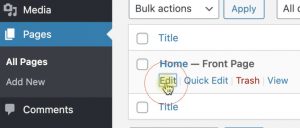
Click on the new ‘Edit with Elementor’ button that was added to the top part of the page to open the Elementor visual editor.

From inside the Elementor screen, you can build sections from scratch or use a pre-made wedding template to speed up the process.
Choose a wedding template
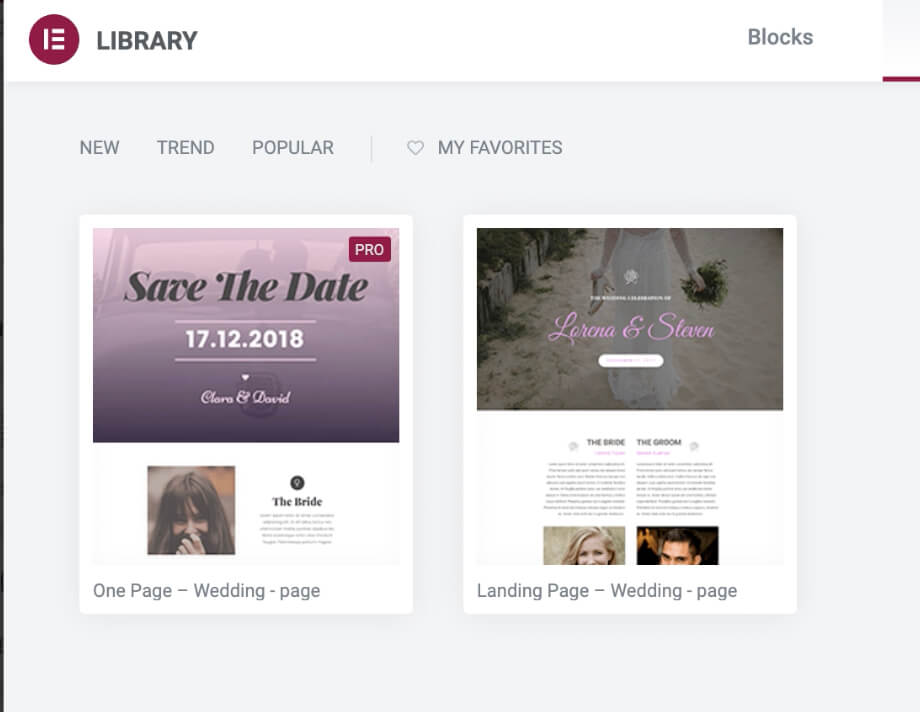
To choose a pre-made template, click on the folder icon.

A new popup was opened loaded with tons of templates for any business or industry. After typing Wedding in the search bar, you’ll be presented with two beautiful templates to choose from.
If you have Elementor Pro, you can use any of them. If you only have the free version, you can only use the free template (the one without the ‘pro’ tag).
Click ‘insert’ on your desired template and watch the magic. A new website is ready for you in less than one minute.
All we have left to do is to change and modify the sections and elements of the template. That’s easy.
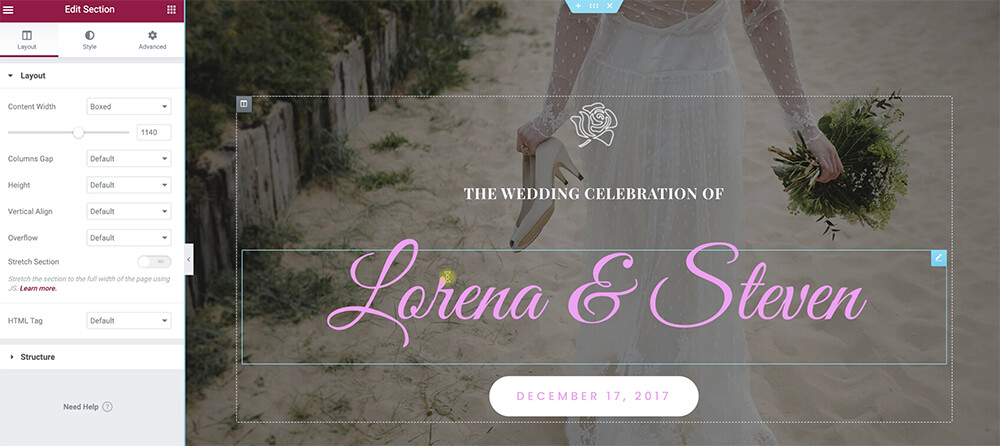
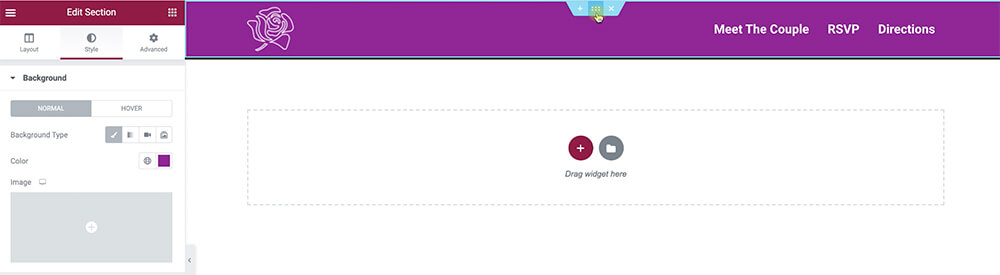
Customizing the template
After the heavy lifting is over (actually it wasn’t that heavy), all we have left to do is modifying the page to suit our wedding.
Click on any section, column, or Element to open the three customization tabs.
The three tabs of Elementor
After clicking on any component of the page, the left widgets sidebar will change and display three tabs that can be used to modify the component.
- Content – use this tab to change everything related to the content. For example, when editing the Heading widget, use this tab to change the text of the widget.
- Style – use this tab to change the appearance of the component. Loaded with many style options like background colors, border, typography, size, etc…
- Advanced – options that can’t be placed in the content or style tabs. In the advanced tab, you can assign unique classes and IDs to the elements, control visibility in mobile, and add custom CSS rules.
Go through each of the pages’ sections, columns, and widgets and change whatever you need.
Don’t be scared to make changes or mistakes because you can always use the History toggle to revert the changes.

If you would like to delete a component, right-click on the desired one and hit ‘delete’.

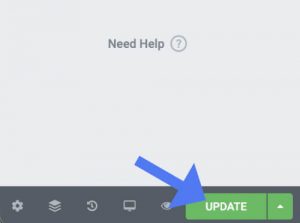
After changing the images, text, and colors click on update and revisit your homepage to see what it looks like.
Congratulation, your wedding website was ready in less than 10 minutes!
If you’re satisfied with a single page website, move on to the next section and add an RSVP form. If you want to create more pages and link them with a header menu, keep reading below.
Making the header
A website’s header usually contains a logo, menu and is accessible from every page.
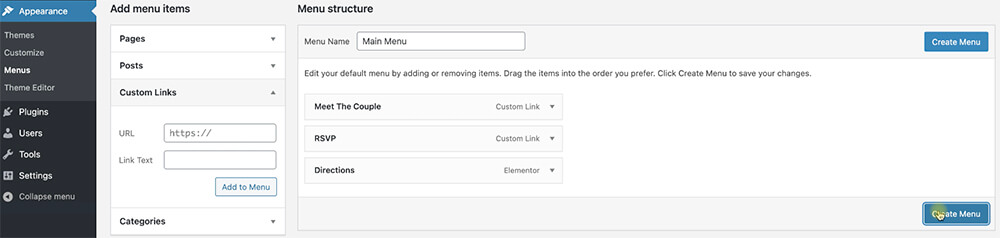
Create a new menu
To create a menu for your website, navigate to ‘Appearance -> Menus’ and start adding the desired pages (such as directions and accommodations if were created) from the left to the menu on the right.
Drag the pages up or down to reorganize the order of the items, and when done, click on ‘Create menu’,
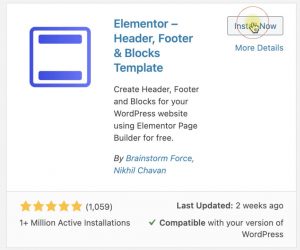
Install the header and footer plugin for Elementor
To display the header on every page, we will need to install another plugin on our WordPress website.
Go to ‘Plugins -> Add New’, install and activate the Header, Footer & Blocks for Elementor.
This plugin will enable us to create the header once and set a trigger for it to be displayed on every page.
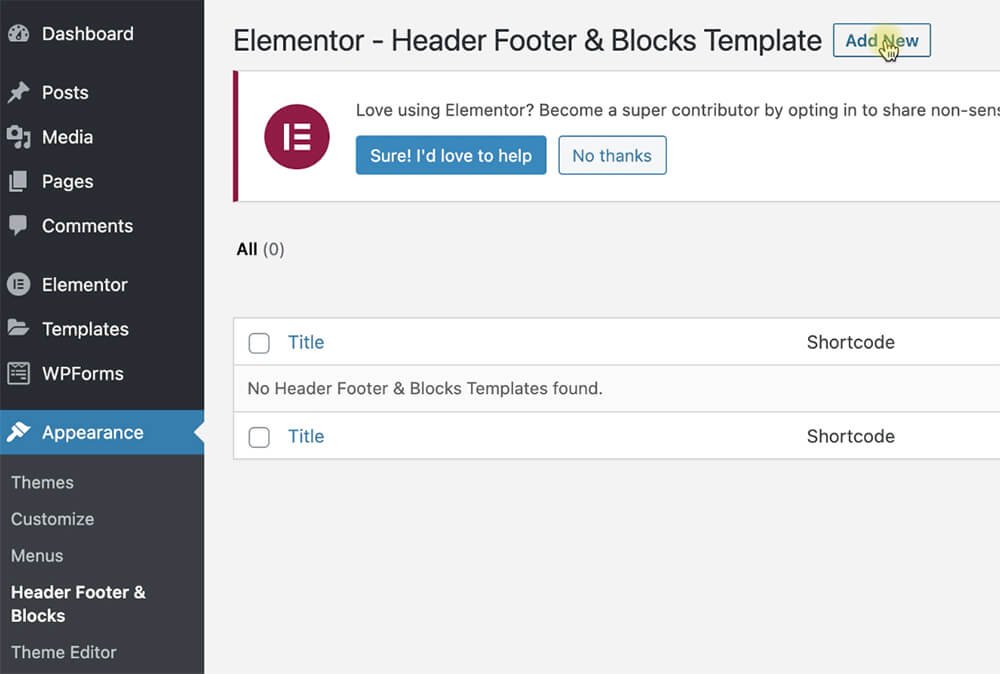
After activating the plugin, go to ‘Appearance -> Header, Footer & Blocks’ and click on add new.
Name it the header, set the template to the header, the trigger to the entire website, and click on publish. Then click on Edit with Elementor to launch the visual editor.
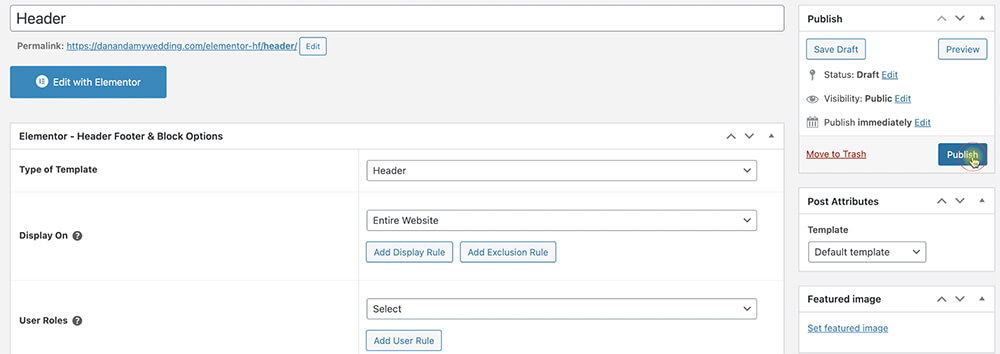
Now, design your header exactly as we did earlier with the home page and click update when done.
Revisit your website and see the new header at the top of the page. You can also make a footer that same way, just make sure to set the templates to a footer.
Before sharing our website with the world, there are couple more things that we should do: add an RSVP form and create a gift registry.
Add an RSVP Form
The wedding party will not be completed without guests! Integrating an RSVP form into your website is not required but definitely recommended.
In fact, in my opinion, the best way is to combine the old way of sending the invitations through the mail (for the elderly) along with an RSVP form on your website for the younger crowd.
A form like so will help you stay on top of who’s coming, canceling, or bringing a guest.
The preparation for your big day can be stressful enough, an RSVP form can make it easier.
Build the form
To create a wedding RSVP form, navigate to ‘WPForms -> Add New’ to launch the form setup screen.
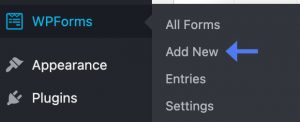
To have a good starting point, in the setup screen, name the form and select the simple contact form option.
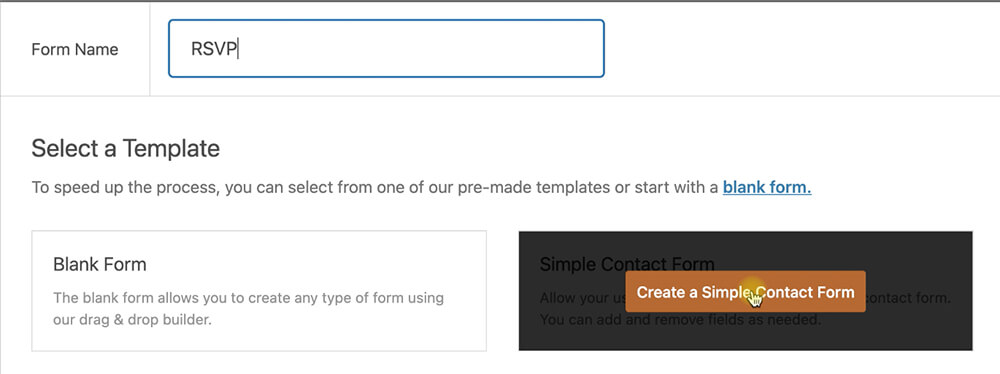
The simple RSVP form already contains the name, email, and message box. If it’s enough for your, you’re done, click on save and move to the next part.
If you would like to ask about additional guests, drag the Checkboxes option from the left sidebar below the email field on the right.
Change the label to ‘Will you be bringing a guest’ and the options to Yes and No.
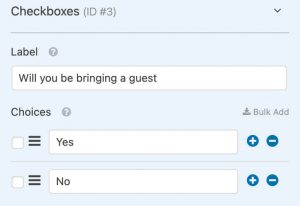
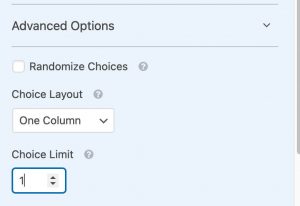
Expend the advanced options tab and change the choice limit to 1.
If you would like to ask your attendees more questions, switch back to the ‘add fields’ tab and add additional checkboxes.
Check the WPForms RSVP wedding template and get inspired on which fields should be considered when creating such a form.
When done, click on save and insert the form to your website.
Insert the form
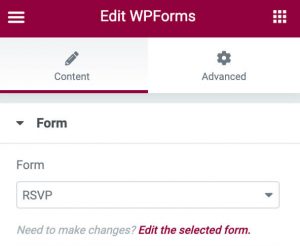
Relaunch the Elementor screen of your homepage (or RSVP page) and drag the WPForms widget to any section.
Under the content tab, choose the RSVP form and click update.
The form was inserted into your website, before moving on, fill the form yourself and run a quick test to make sure it’s working.
Create a Gift Registry
Letting the wedding guests guess what you would like to get as a present may be a bad idea. On the other hand, telling them what you want may sound rude.
Creating a gift registry is the best solution because you saying what gifts you would like to get but indirectly. Also, every attendee could choose what to get based on their budget.
To create a wedding registry, open the Amazon wedding registry and click on ‘Create your registry’.

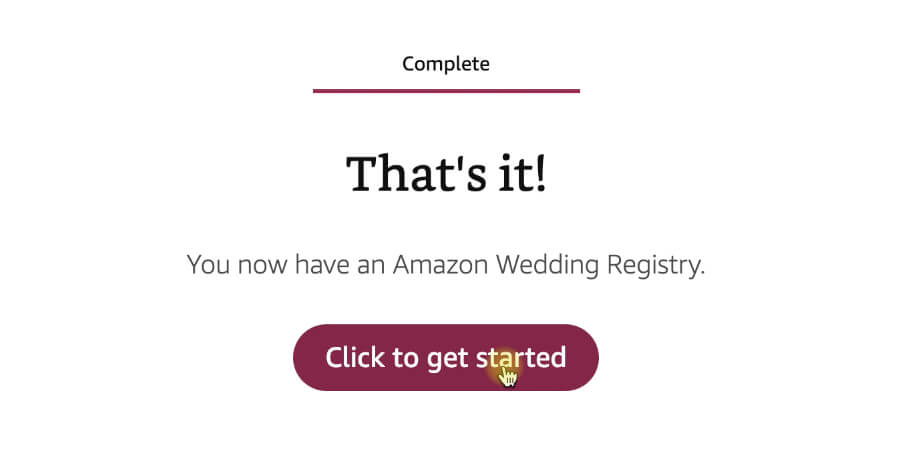
Provide some details regarding yourself and your partner through their quick questionnaire screens and click on get started at the end of it.
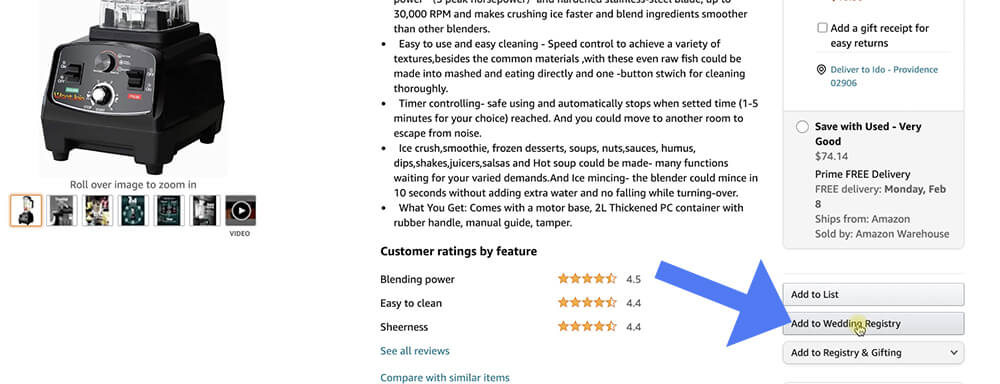
Search for the items that you would like to add to the registry and click on ‘add to wedding registry’ from inside the item page.
When ready to link your website to the registry click on share and copy the registry link.

Some other good registry websites are TheKnot, Zola, and MyRegistry. To view the full list, download the free PDF I created for this course.
Before Launching the Site
There are a few more things that I would like to tell you regarding WordPress before launching your website and share your big day with the world.
Update the plugins
WordPress plugins and themes such as Elementor and WPForms are highly maintained by their developers. Therefore, updates with minor improvements are frequent.
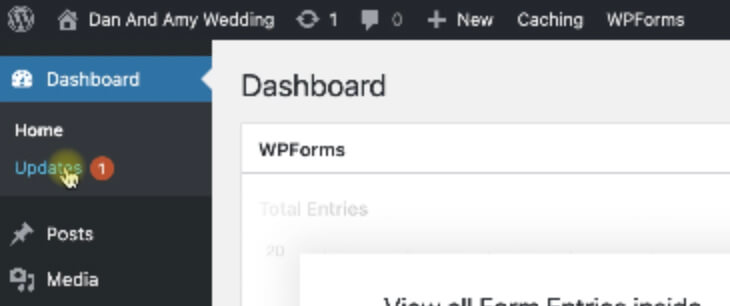
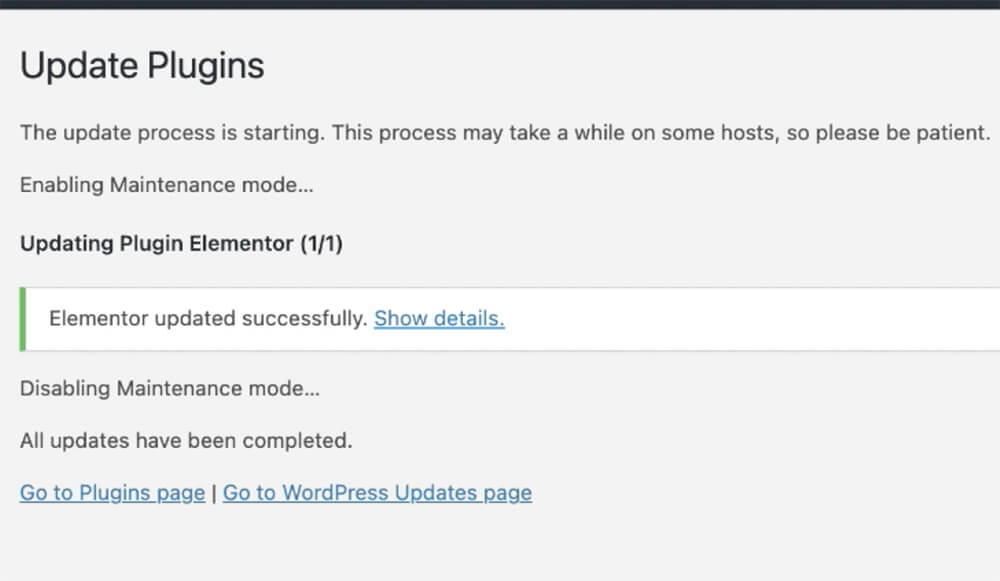
It is important to keep your website and plugins up to date. To do that, click on the update icon whenever there is a number next to it to open the updates page.
Check the plugin or theme that needs to be updated and click on update.
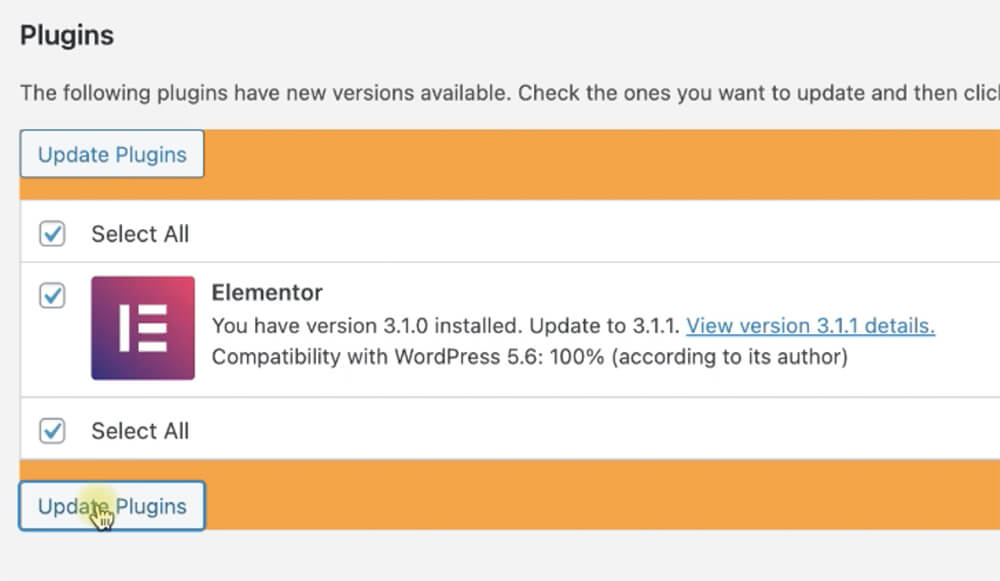
The update process will only take few seconds and at the end of the process, you’ll get green feedback notifying you that the update was successful.
Save money on plugins and themes
When building a website with WordPress, often you’ll have to add premium plugins or get the pro versions of free plugins.
You can definitely get them from the official developer websites for full price, but because WordPress was build under the GPL, it is totally fine to redistribute the items for way less.
The website PluginsForWP has an active subscription to most of the developers and sell the items for over 97% off.
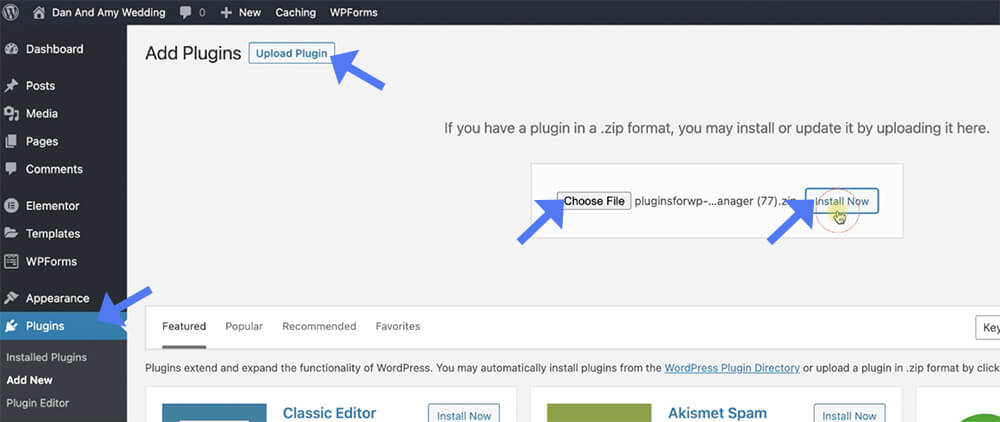
Find your desired plugin at their repository and get any of them for only $4.99. Then navigate to Plugins -> Add New -> Upload plugin and upload the zip.
Now your website is completed and ready to be shared with your family friends, and co-workers. Go ahead and send them your domain name.
Conclusion
In this article, you learned how to make a professional website for your big wedding day – and hopefully, you found the process relatively easy.
We walked through some of the key concepts and components that every wedding website should have to provide information to the visitors.
We also made an RSVP form and created a gift registry to inform the attendees what gifts we would like to get.
You can also take my free wedding website course on YouTube or Udemy to dive even deeper. The video course will teach you everything I shared with you in this article plus more great tips!
The section below will contain some of the most frequent questions that I get when making a wedding website for my customers. Please read it carefully and add a comment below if you have an additional question that I should add.
You can also contact me at any time by filling this form or through the Siteborn Facebook page.
Once again, I would like to congrats you on completing this article and wish you all the best in your married life!
Frequently Asked Questions
After the hosting plan will expire, your website eventually will be reset and the domain will be available to be purchase again by the public. Therefore, when choosing a billing cycle, make sure the plan will be over way after the wedding ceremony.
Absolutely yes! Building websites is now an easy process like never before and can be done by anyone. The only requirements are an internet connection, a computer, and the willingness to learn.
It all depends on the hosting plan you’ll choose. In this course, we registered a domain name and hosting for a full year for less than $50! (use coupon code ‘wedding’). If choosing a shorter hosting plan, the price will get even cheaper.